


How to Set up Residential Proxies for Parsehub
Learn how to set up residential proxies on Parsehub.
14-day money-back option

Parsehub integration:
1. Open Parsehub application.
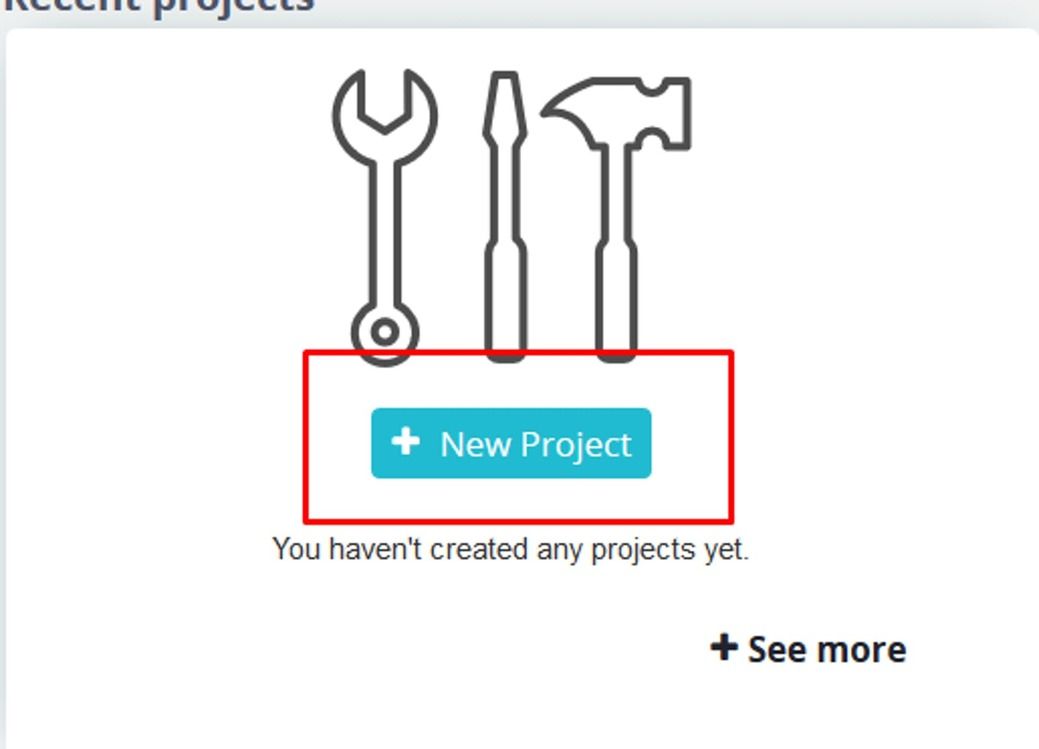
2. Click on the New Project. If you have a project already, skip to Step 4 of this tutorial.
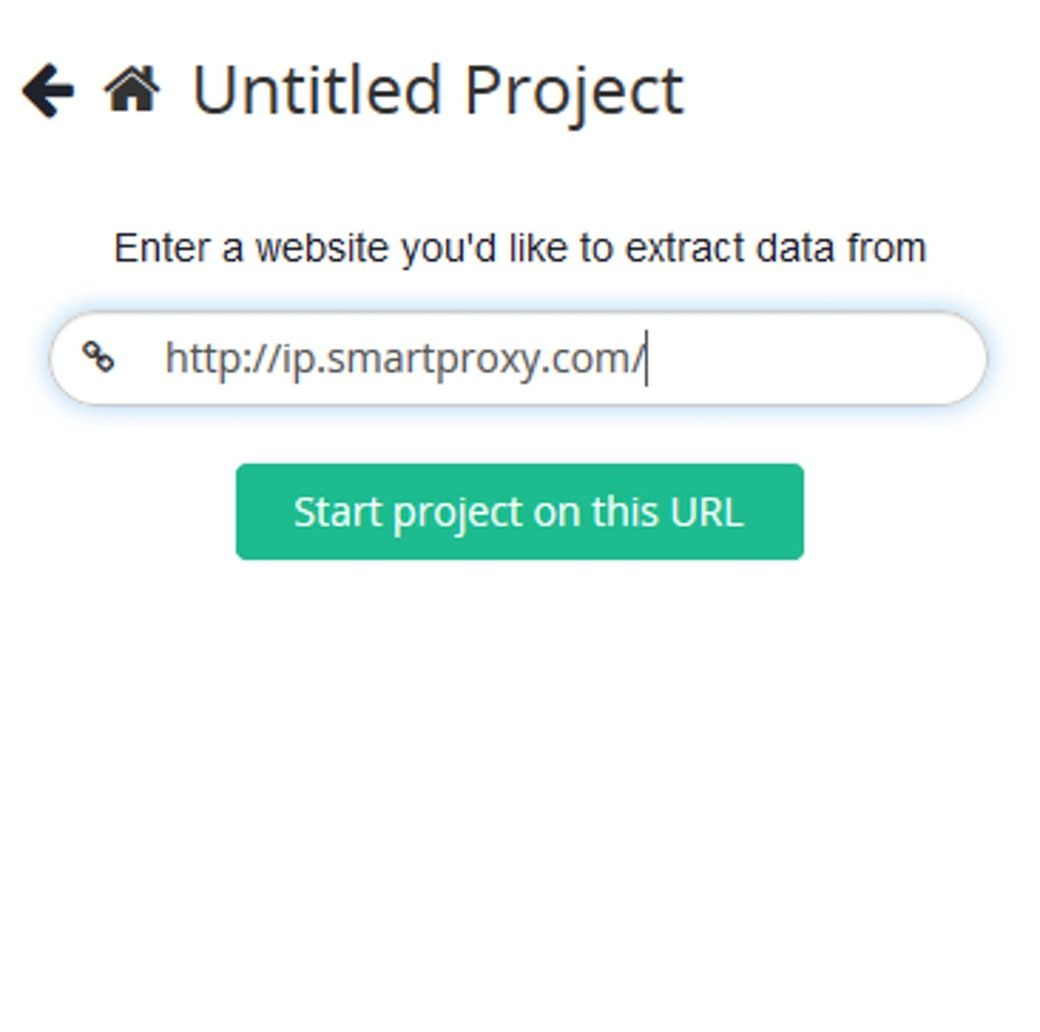
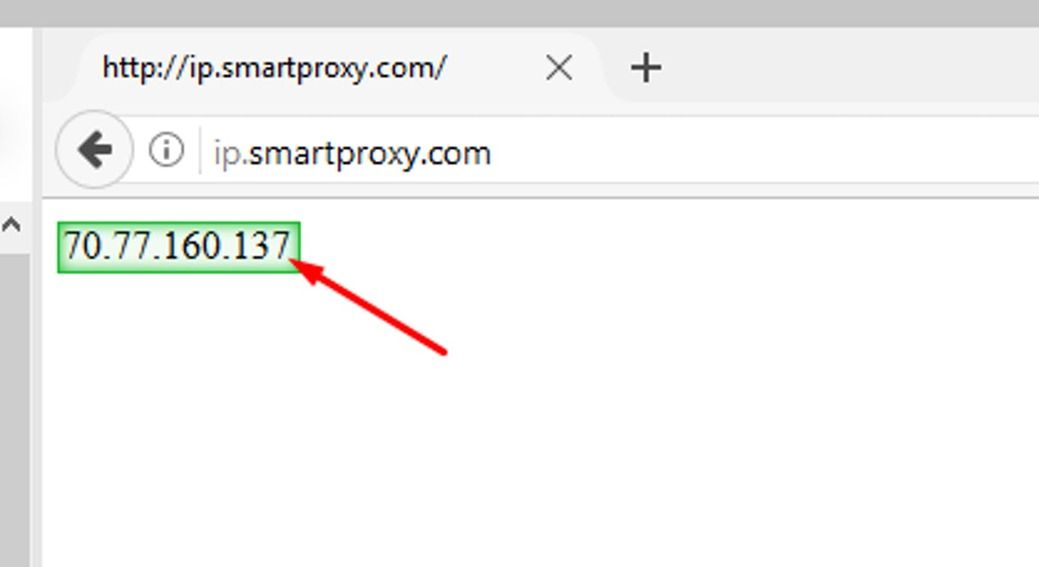
3. Enter a website you’d like to extract data from. For testing purposes, we are going to use ip.smartproxy.com.
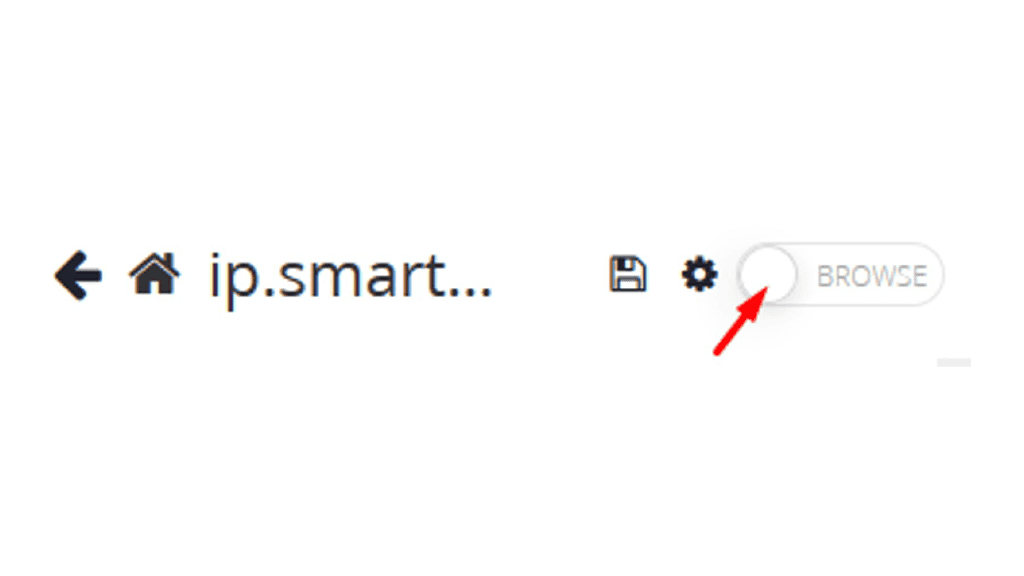
4. When your project is ready, switch to the Browse mode.
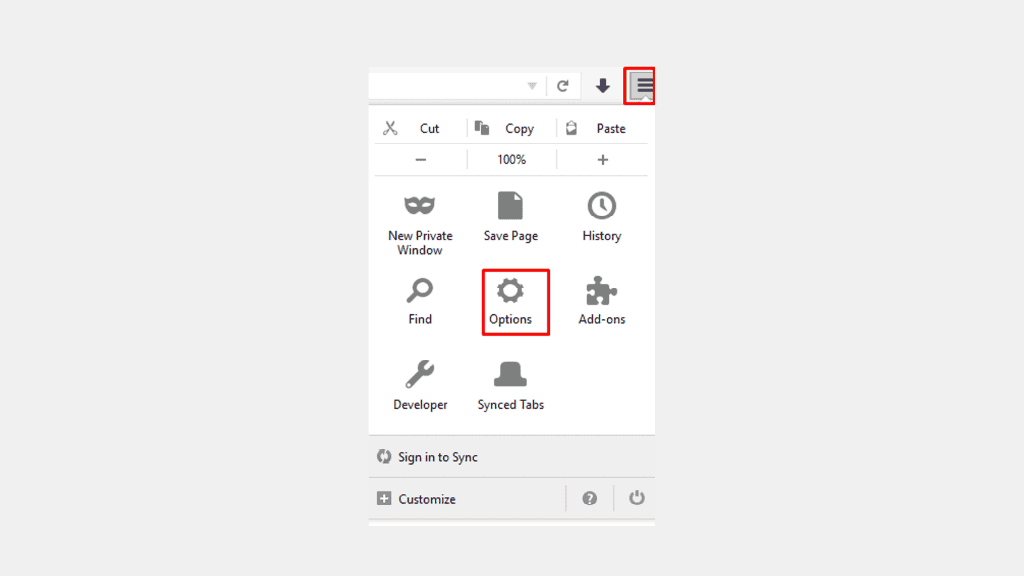
5. When the Browse slider turns green, open the Options tab from the drop-down found on the top-right side.
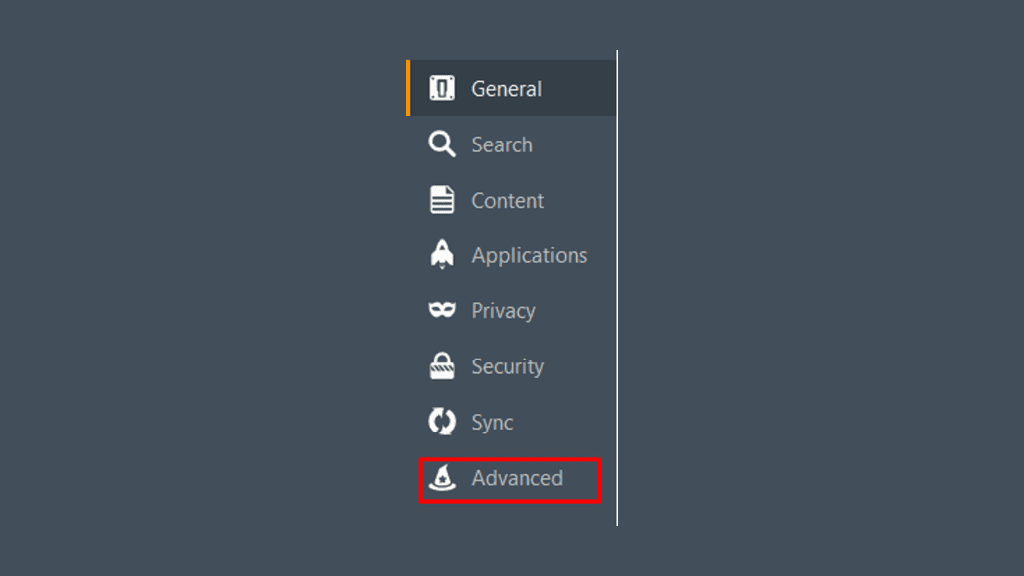
6. Click on the Options button and then select the Advanced option.
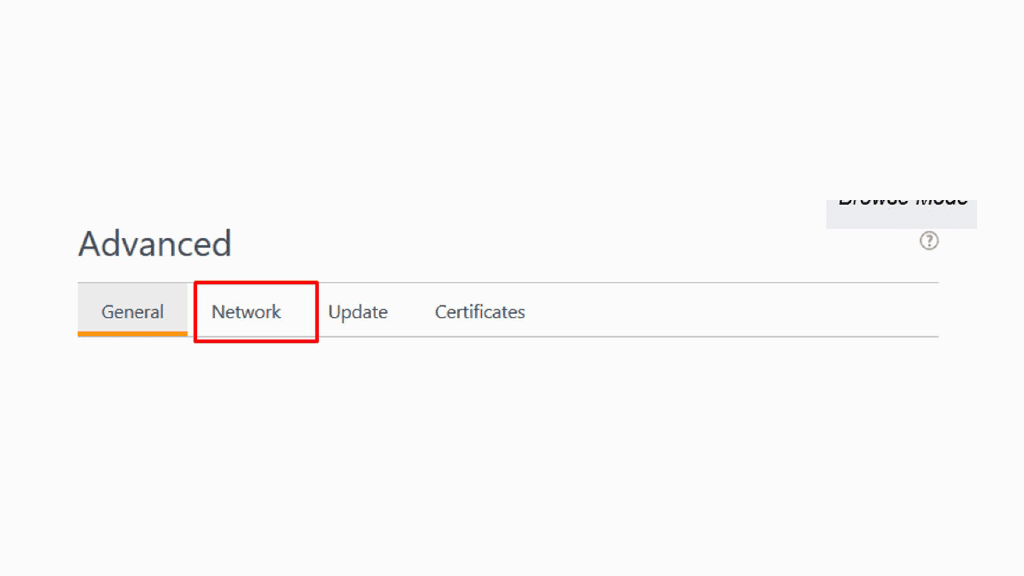
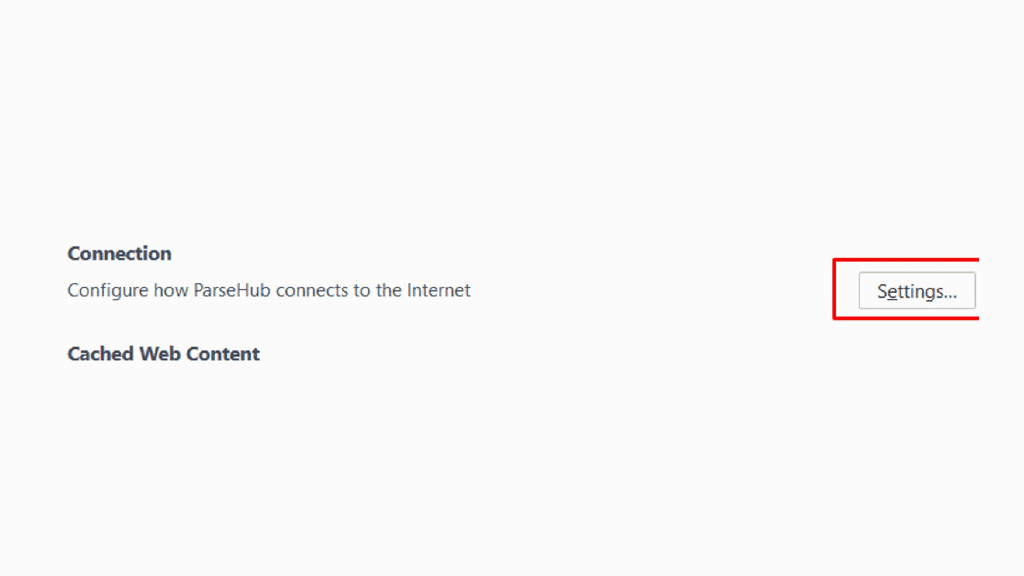
7. In the Advanced window, click on the Network tab and select Settings.
8. In the Settings menu, under the Configure Proxies to Access the Internet select Manual proxy configuration and fill in text fields for HTTP Proxy, SSL Proxy, FTP Proxy using the information for your desired Endpoint.
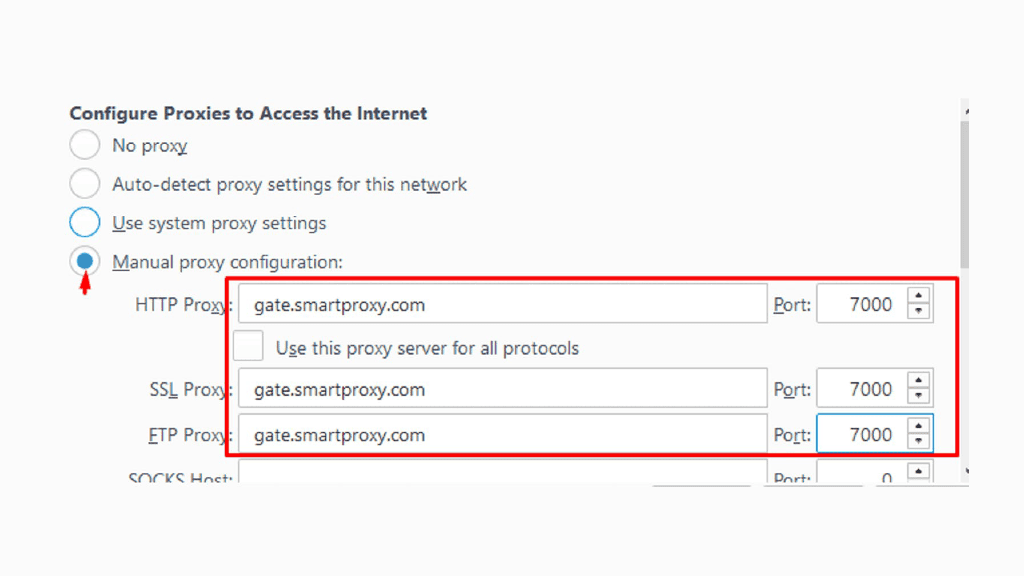
9. Make sure to keep out the SOCKS Host text field empty.
10. To check if everything is working, go back to the project page and refresh the browser tab. You should see our proxy IP.
That’s it, you’re good to go!
Need more detailed instructions? Here's a quick video guide on setting proxies in Parsehub.
Choose Smartproxy:

Never get flagged
Avoid getting detected by using our vast pool of residential exit nodes.

Unlimited connections
Use any shoe bot with an unlimited number of connections, threads, and countries at once.

City and Country level targeting
Use residential IPs from as many countries or cities as you like. Change locations as often as needed.

Be aware that any tools mentioned in this article belong to a third party, not Smartproxy. Therefore, Smartproxy will not be responsible for any of the services offered by the third-party. Make sure to thoroughly review the third-party’s policies and practices, or do your due diligence, before using or accessing any of their services.