


How to Set up Residential Proxies for Octoparse
Learn how to set up residential proxies on Octoparse.
14-day money-back option
Octoparse integration:
1. Open the Octoparse application.
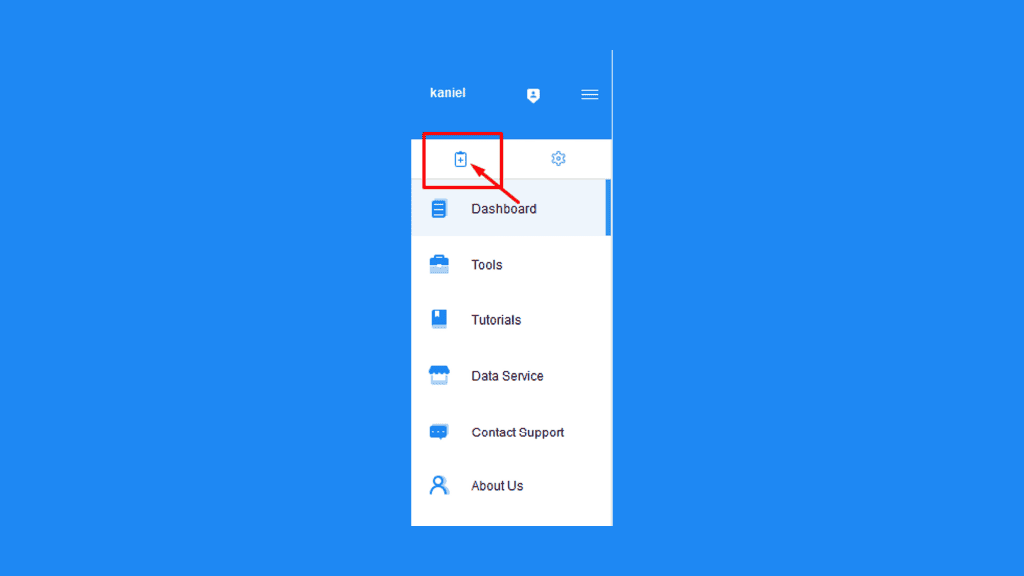
2. In the top-left menu, click on the Create Task button. If you have a task created already, skip to step 5 of this tutorial.
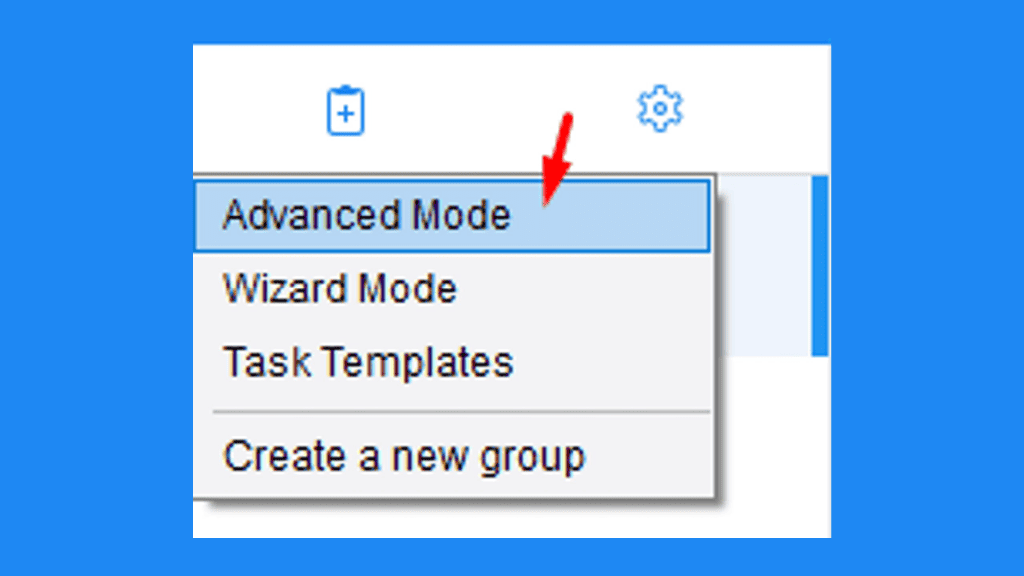
3. For testing purposes, we are going to create a custom task. In the selection menu, click on the Advanced Mode.
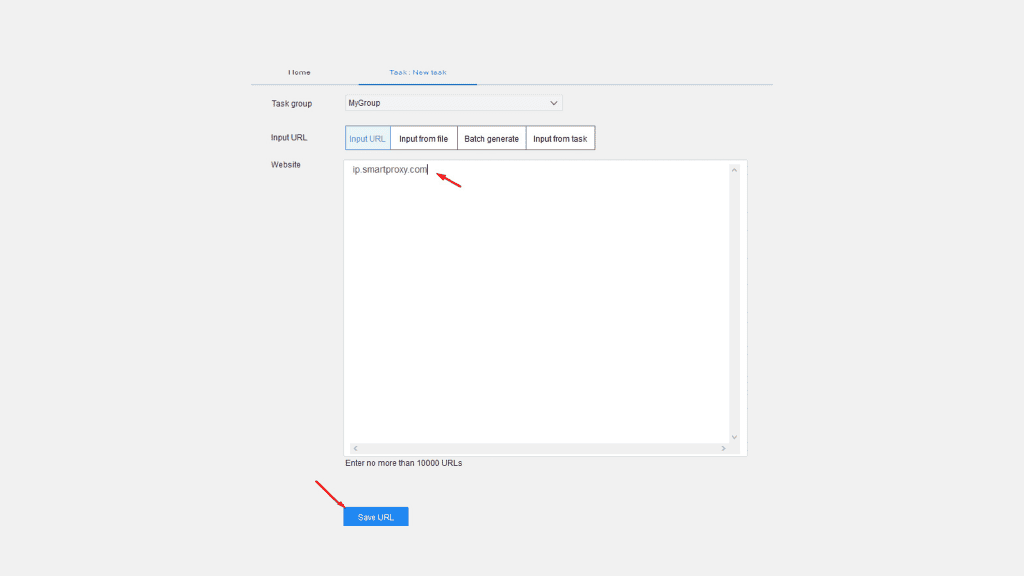
4. In the Website field type the website you would like to extract data from. For this test, we are going to use ip.smartproxy.com. Once you do that, hit the Save URL button.
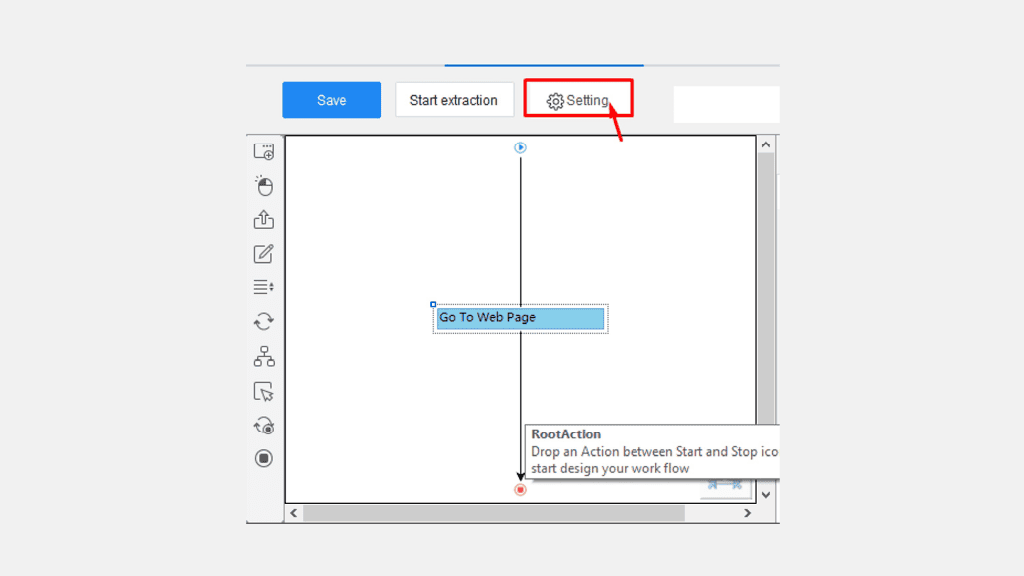
5. You should now appear in your Task tab. To configure our proxies, select the Setting button.
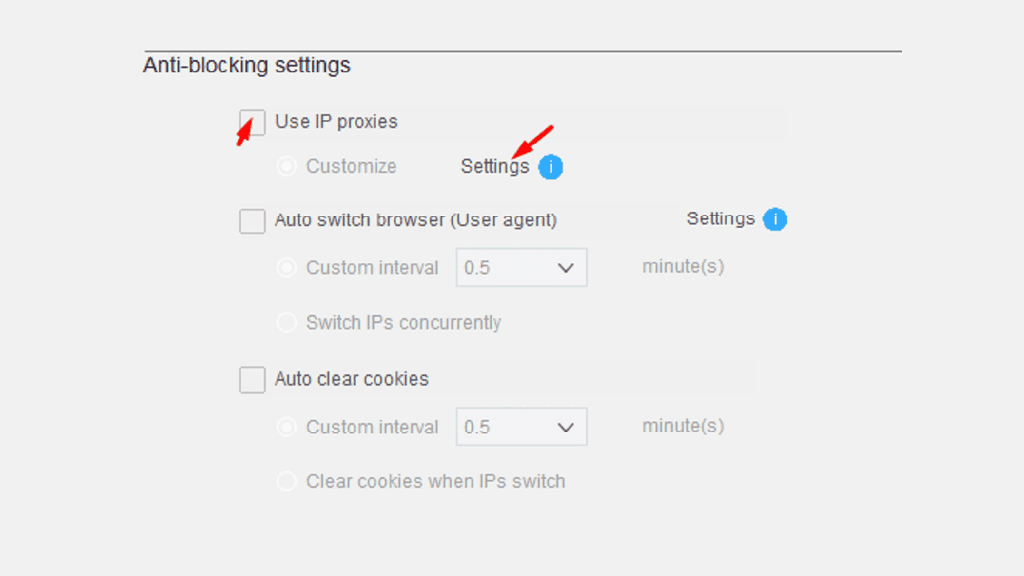
6. In the pop-up menu, scroll down to Anti-blocking settings and checkmark the option to Use IP proxies. You should now be able to click on the Settings button.
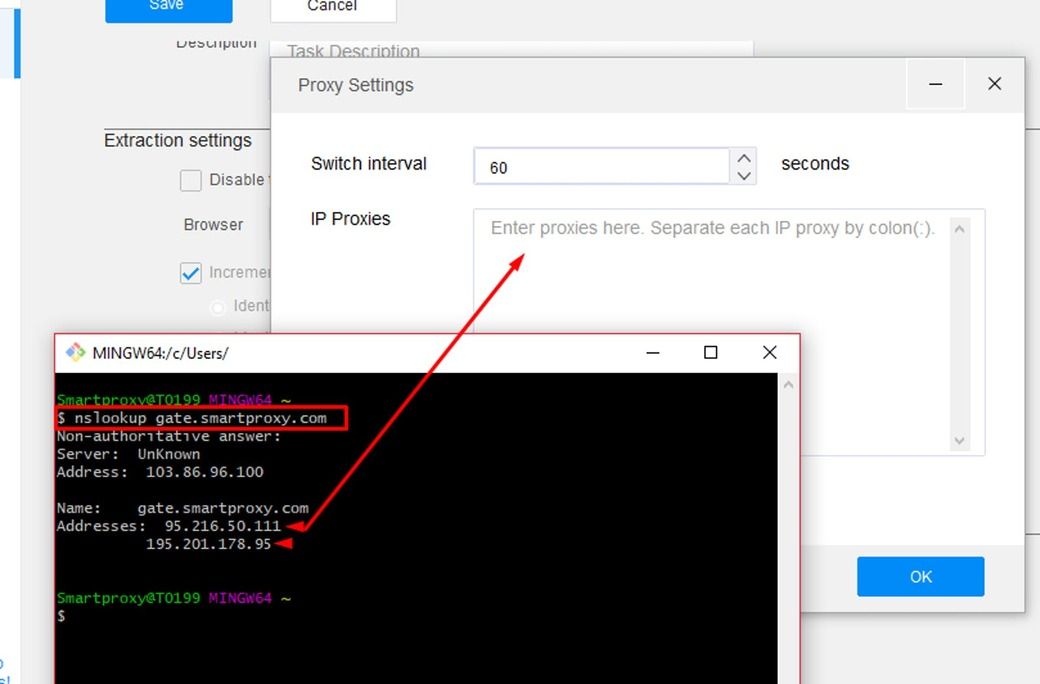
7. In the Proxy Settings pop-up, define the proxy you would like to use. Unfortunately, Octoparse only offers IP:PORT based format to authenticate through a proxy network. For that particular reason, you will need to use our Whitelisted IP feature in order to skip the traditional username:password authentication when going through a proxy.
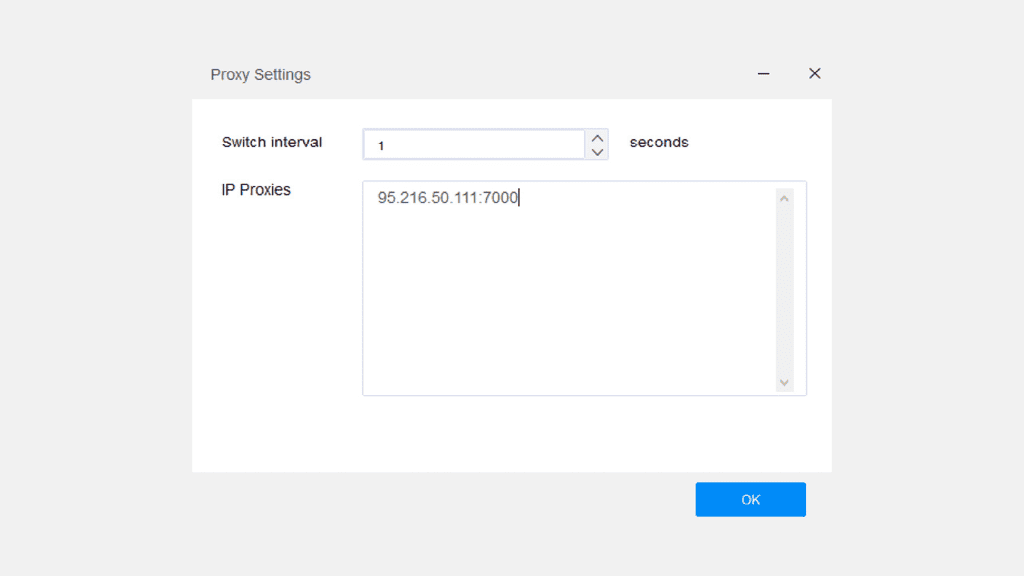
8. Once you have your IP:PORT ready, select the Switch interval accordingly to your session type. If you are using a rotating session type, set the interval to 1, if you are using a sticky session, set it to 600. Lastly, hit the OK button.
9. To verify if you did everything correctly, check if you are seeing a checkmark next to the Settings option under Anti-blocking settings. Once you verify that, click the Save button to continue.

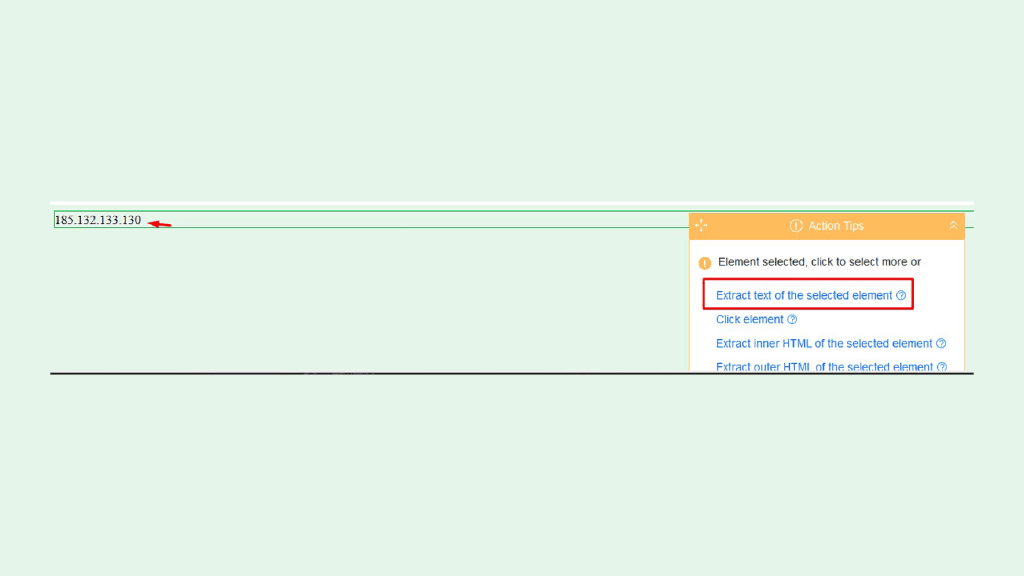
10. To extract data from our example page, click on the IP address which you can see at the bottom of the Octoparse application and select Extract text of the selected element.
11. Once that is done, click on the Save and Run hyperlink.

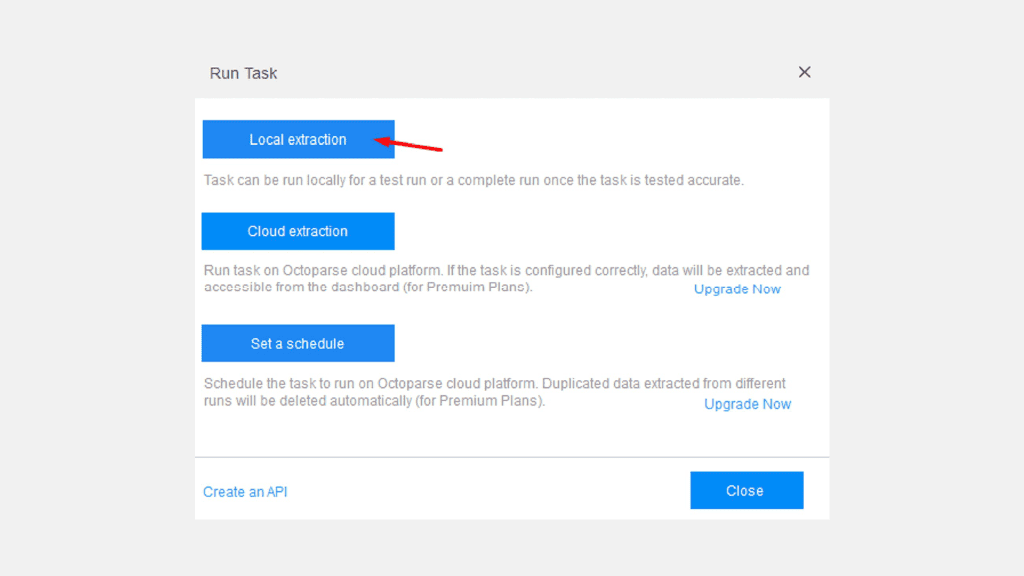
12. Depending on how you want to run your task, select one of the available extraction options. For testing purposes, you can use Local extraction.
13. If done correctly, after task finishes running you should see our proxy IP in the extracted data table.

See? It's effortless to pair these two! And the outcome is divine: a headache-free web data extraction for all your needs. From price monitoring, lead generation, and marketing to research – you can do it all.
Choose Smartproxy:

Never get flagged
Avoid getting detected by using our vast pool of residential exit nodes.

Unlimited connections
Use any shoe bot with an unlimited number of connections, threads, and countries at once.

City and Country level targeting
Use residential IPs from as many countries or cities as you like. Change locations as often as needed.

Be aware that any tools mentioned in this article belong to a third party, not Smartproxy. Therefore, Smartproxy will not be responsible for any of the services offered by the third-party. Make sure to thoroughly review the third-party’s policies and practices, or do your due diligence, before using or accessing any of their services.