Seamless Proxy Integration with BitBrowser
Learn to integrate proxies into the BitBrowser anti-detect browser with a step-by-step tutorial.
14-day money-back option

65M+ IPs

195+ locations

Advanced proxy rotation

24/7 tech support

99.99% uptime

Unlimited connections & threads
What is BitBrowser?

BitBrowser is an anti-detect browser that allows you to manage multiple browser instances and multiple accounts at the same time, each with its own separate identity and virtual fingerprint. This tool helps to avoid the risk of being flagged, blacklisted, or banned.
Why proxies?

BitBrowser, paired with proxies, guarantees enhanced privacy, allowing you to stay undetected and seem like you’re browsing from any location worldwide.
Residential proxies, built on real home devices, make your connections appear natural and human-like. Smartproxy offers residential proxies with a massive pool of 55M+ IPs from 195+ locations. Enjoy advanced targeting, <0.5s response rate, and 99.68% success rate.
On the other hand, datacenter proxies, built on remote computers, are great for tasks that require quick response times and reliable connections. With our datacenter proxies, have a 99.99% uptime, <0.3s response times, unlimited connections and threads, and the ability to scale your infrastructure according to your needs.
How to install BitBrowser?
- Go to the official BitBrowser homepage and click Download in the navigation bar.
- Download the setup according to your operating system (Windows or macOS).
- Run the installation setup and follow the instructions.
- Open the application, create a new account, and log in.
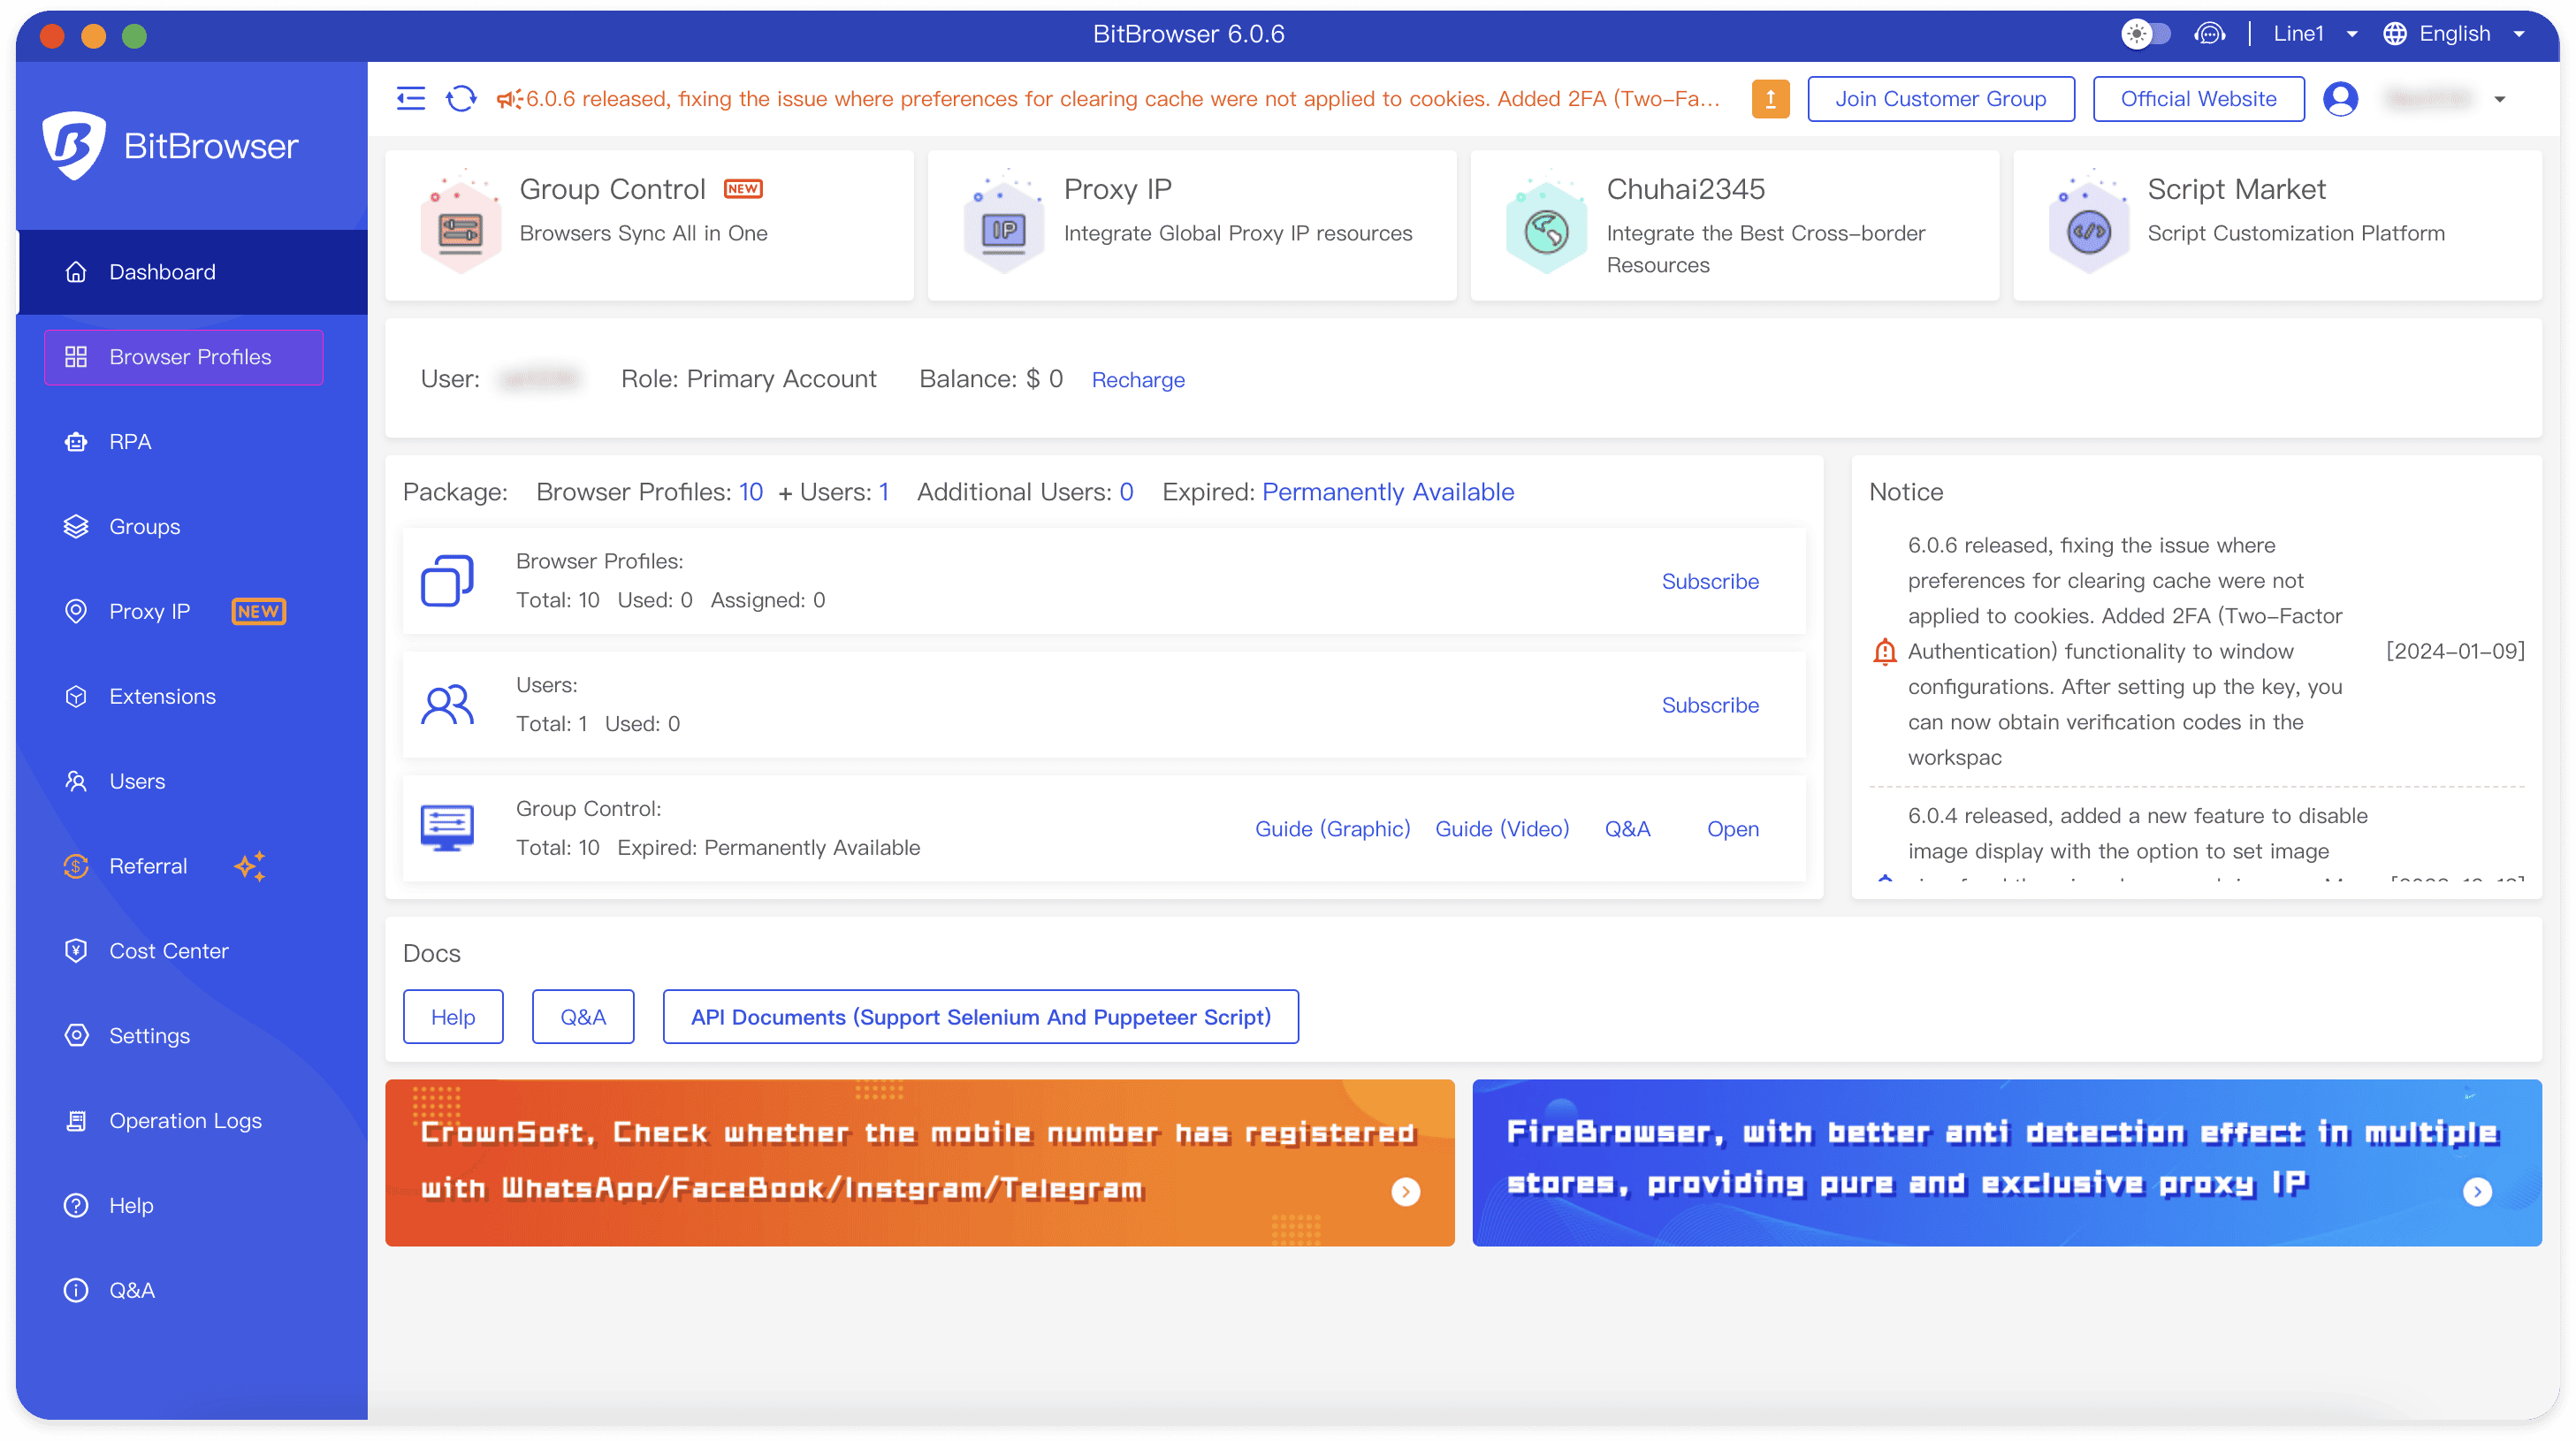
1. Go to the main home screen and select Browser Profiles.
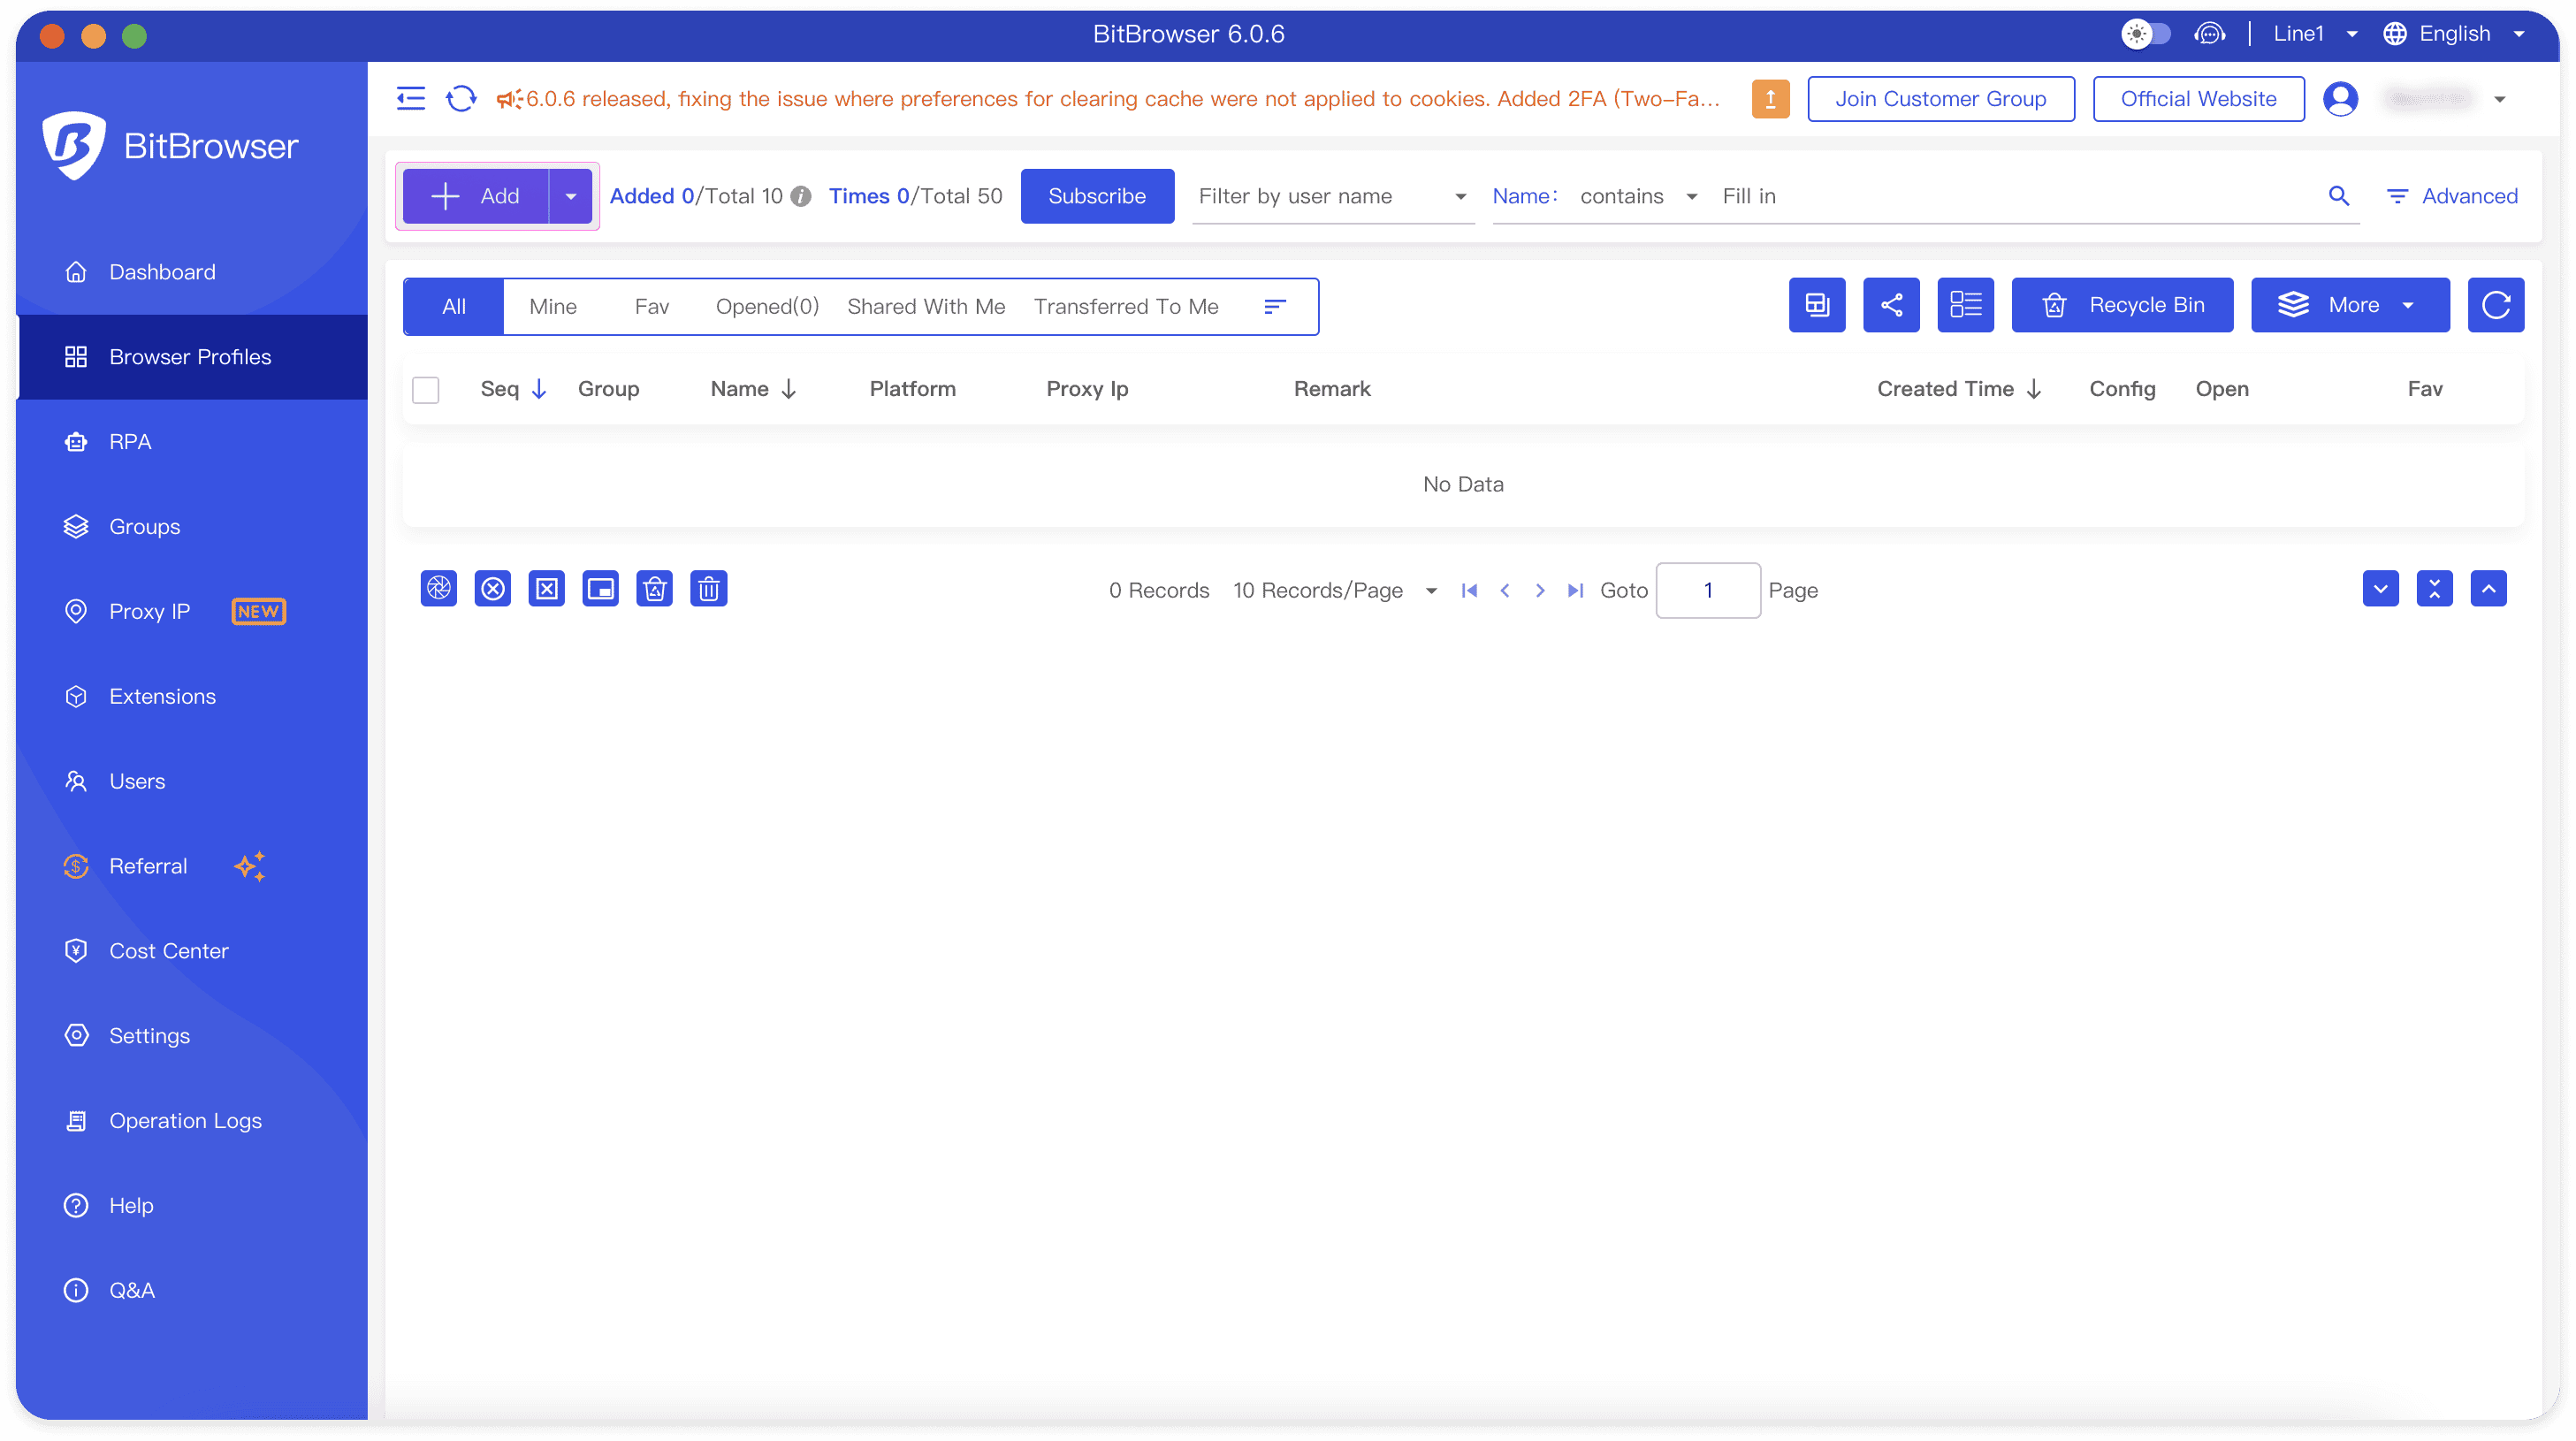
2. Click on + Add to set up a new browser instance.
3. Scroll down to the Proxy section.
Integration with residential proxies
4. Fill in the residential proxy information from the Smartproxy dashboard – Proxy Type, Host, and Port. Here’s an example:
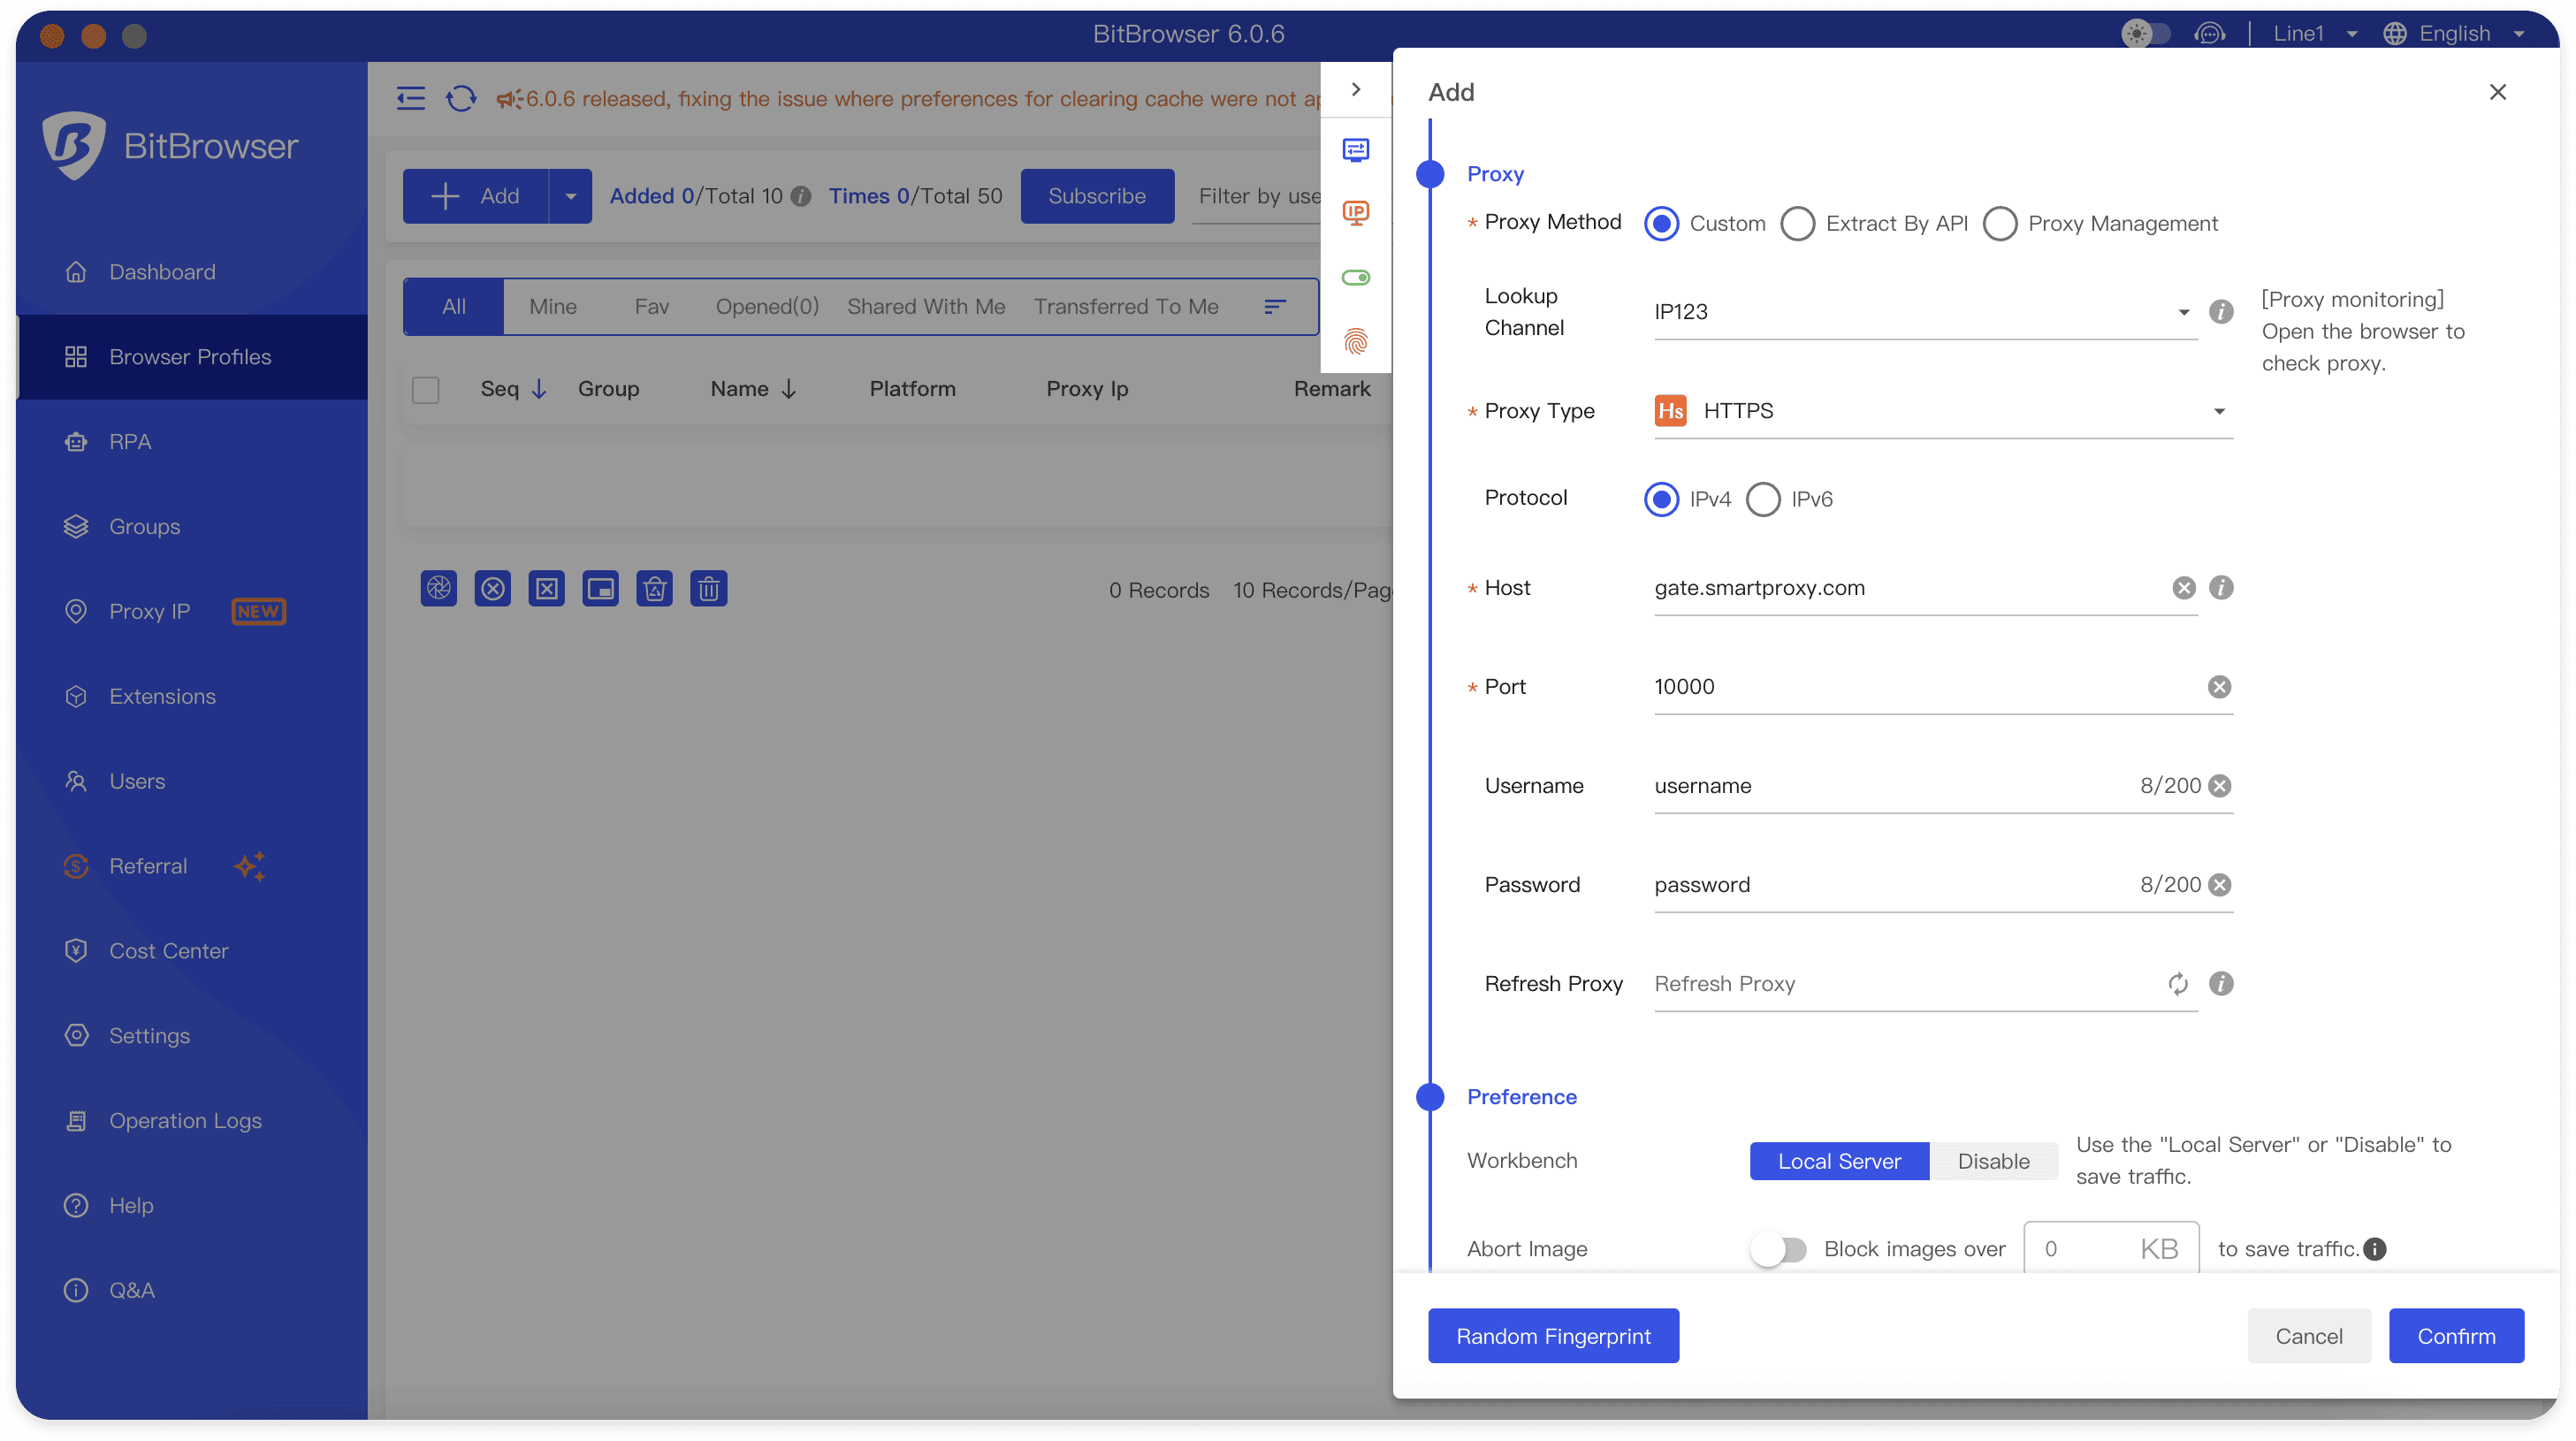
5. Enter your Smartproxy Username and Password.
6. In addition to proxy settings, you can personalize various preferences and fingerprint options for a specific browser profile. After doing so, press Confirm.
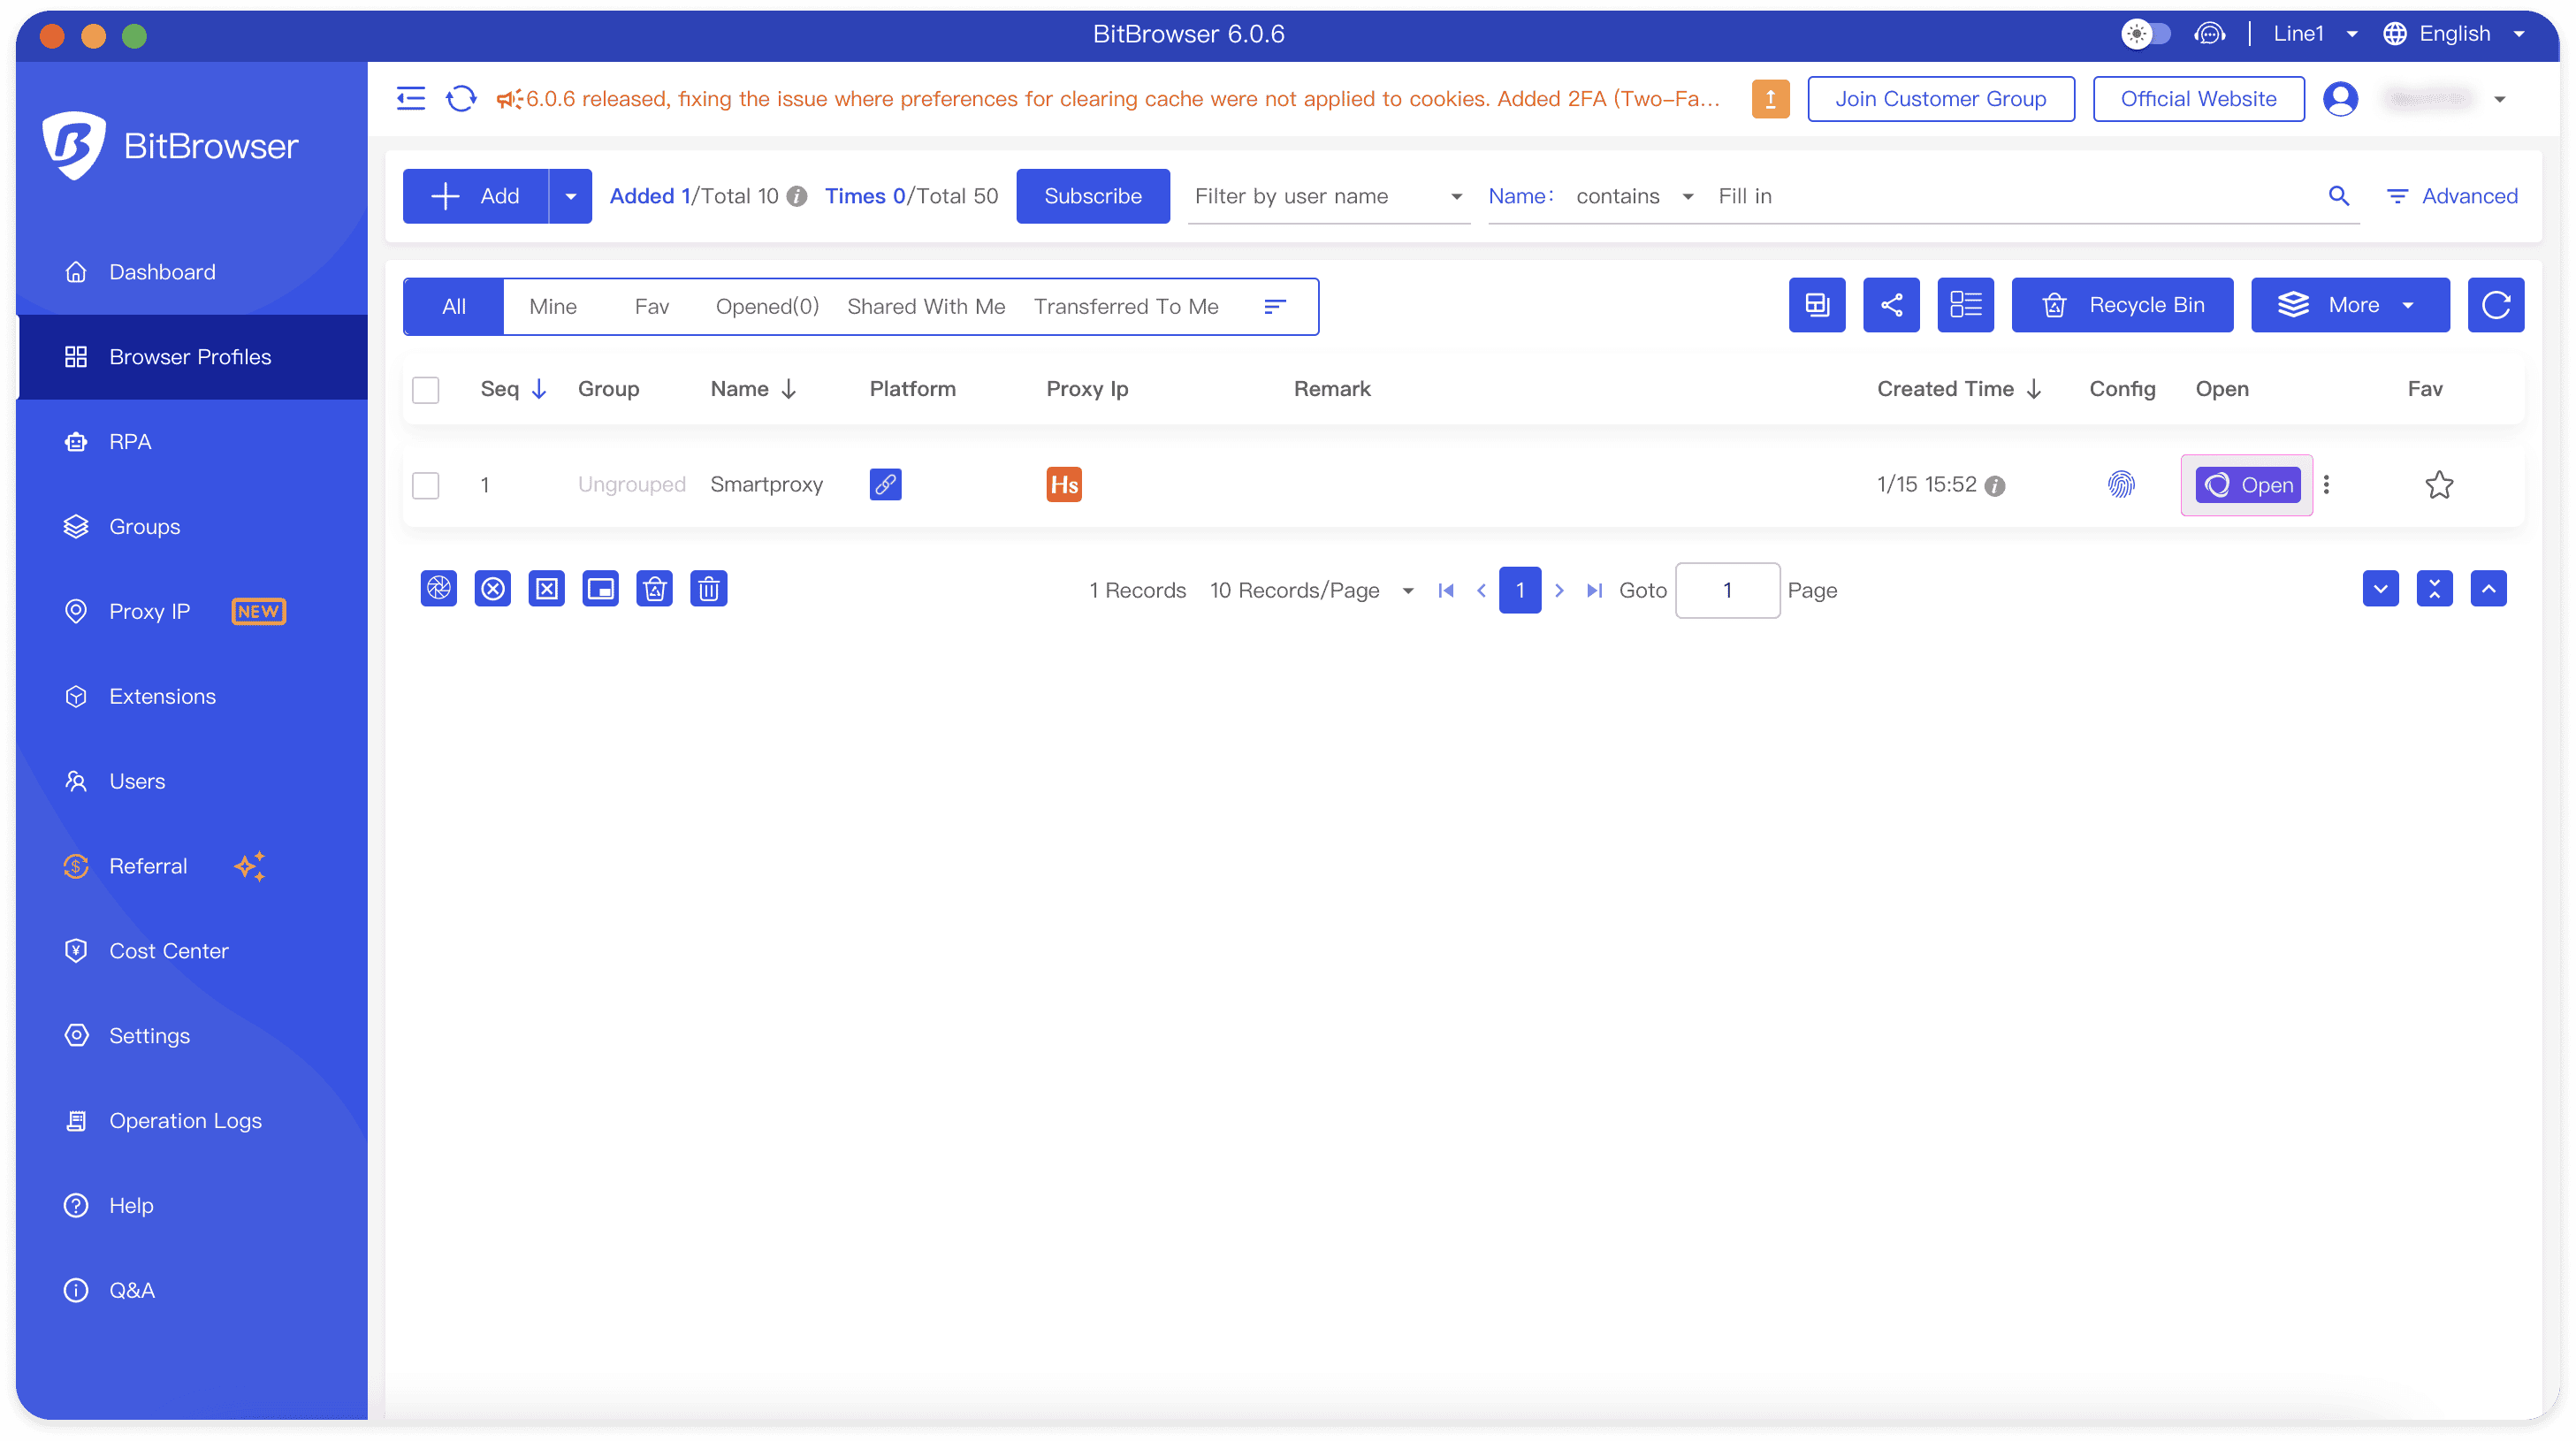
7. To ensure everything works as intended, click Open and launch the browser.
Integration with datacenter proxies
1. Fill in the datacenter proxy information from the Smartproxy dashboard – Proxy Type, Host, and Port. Here’s an example:
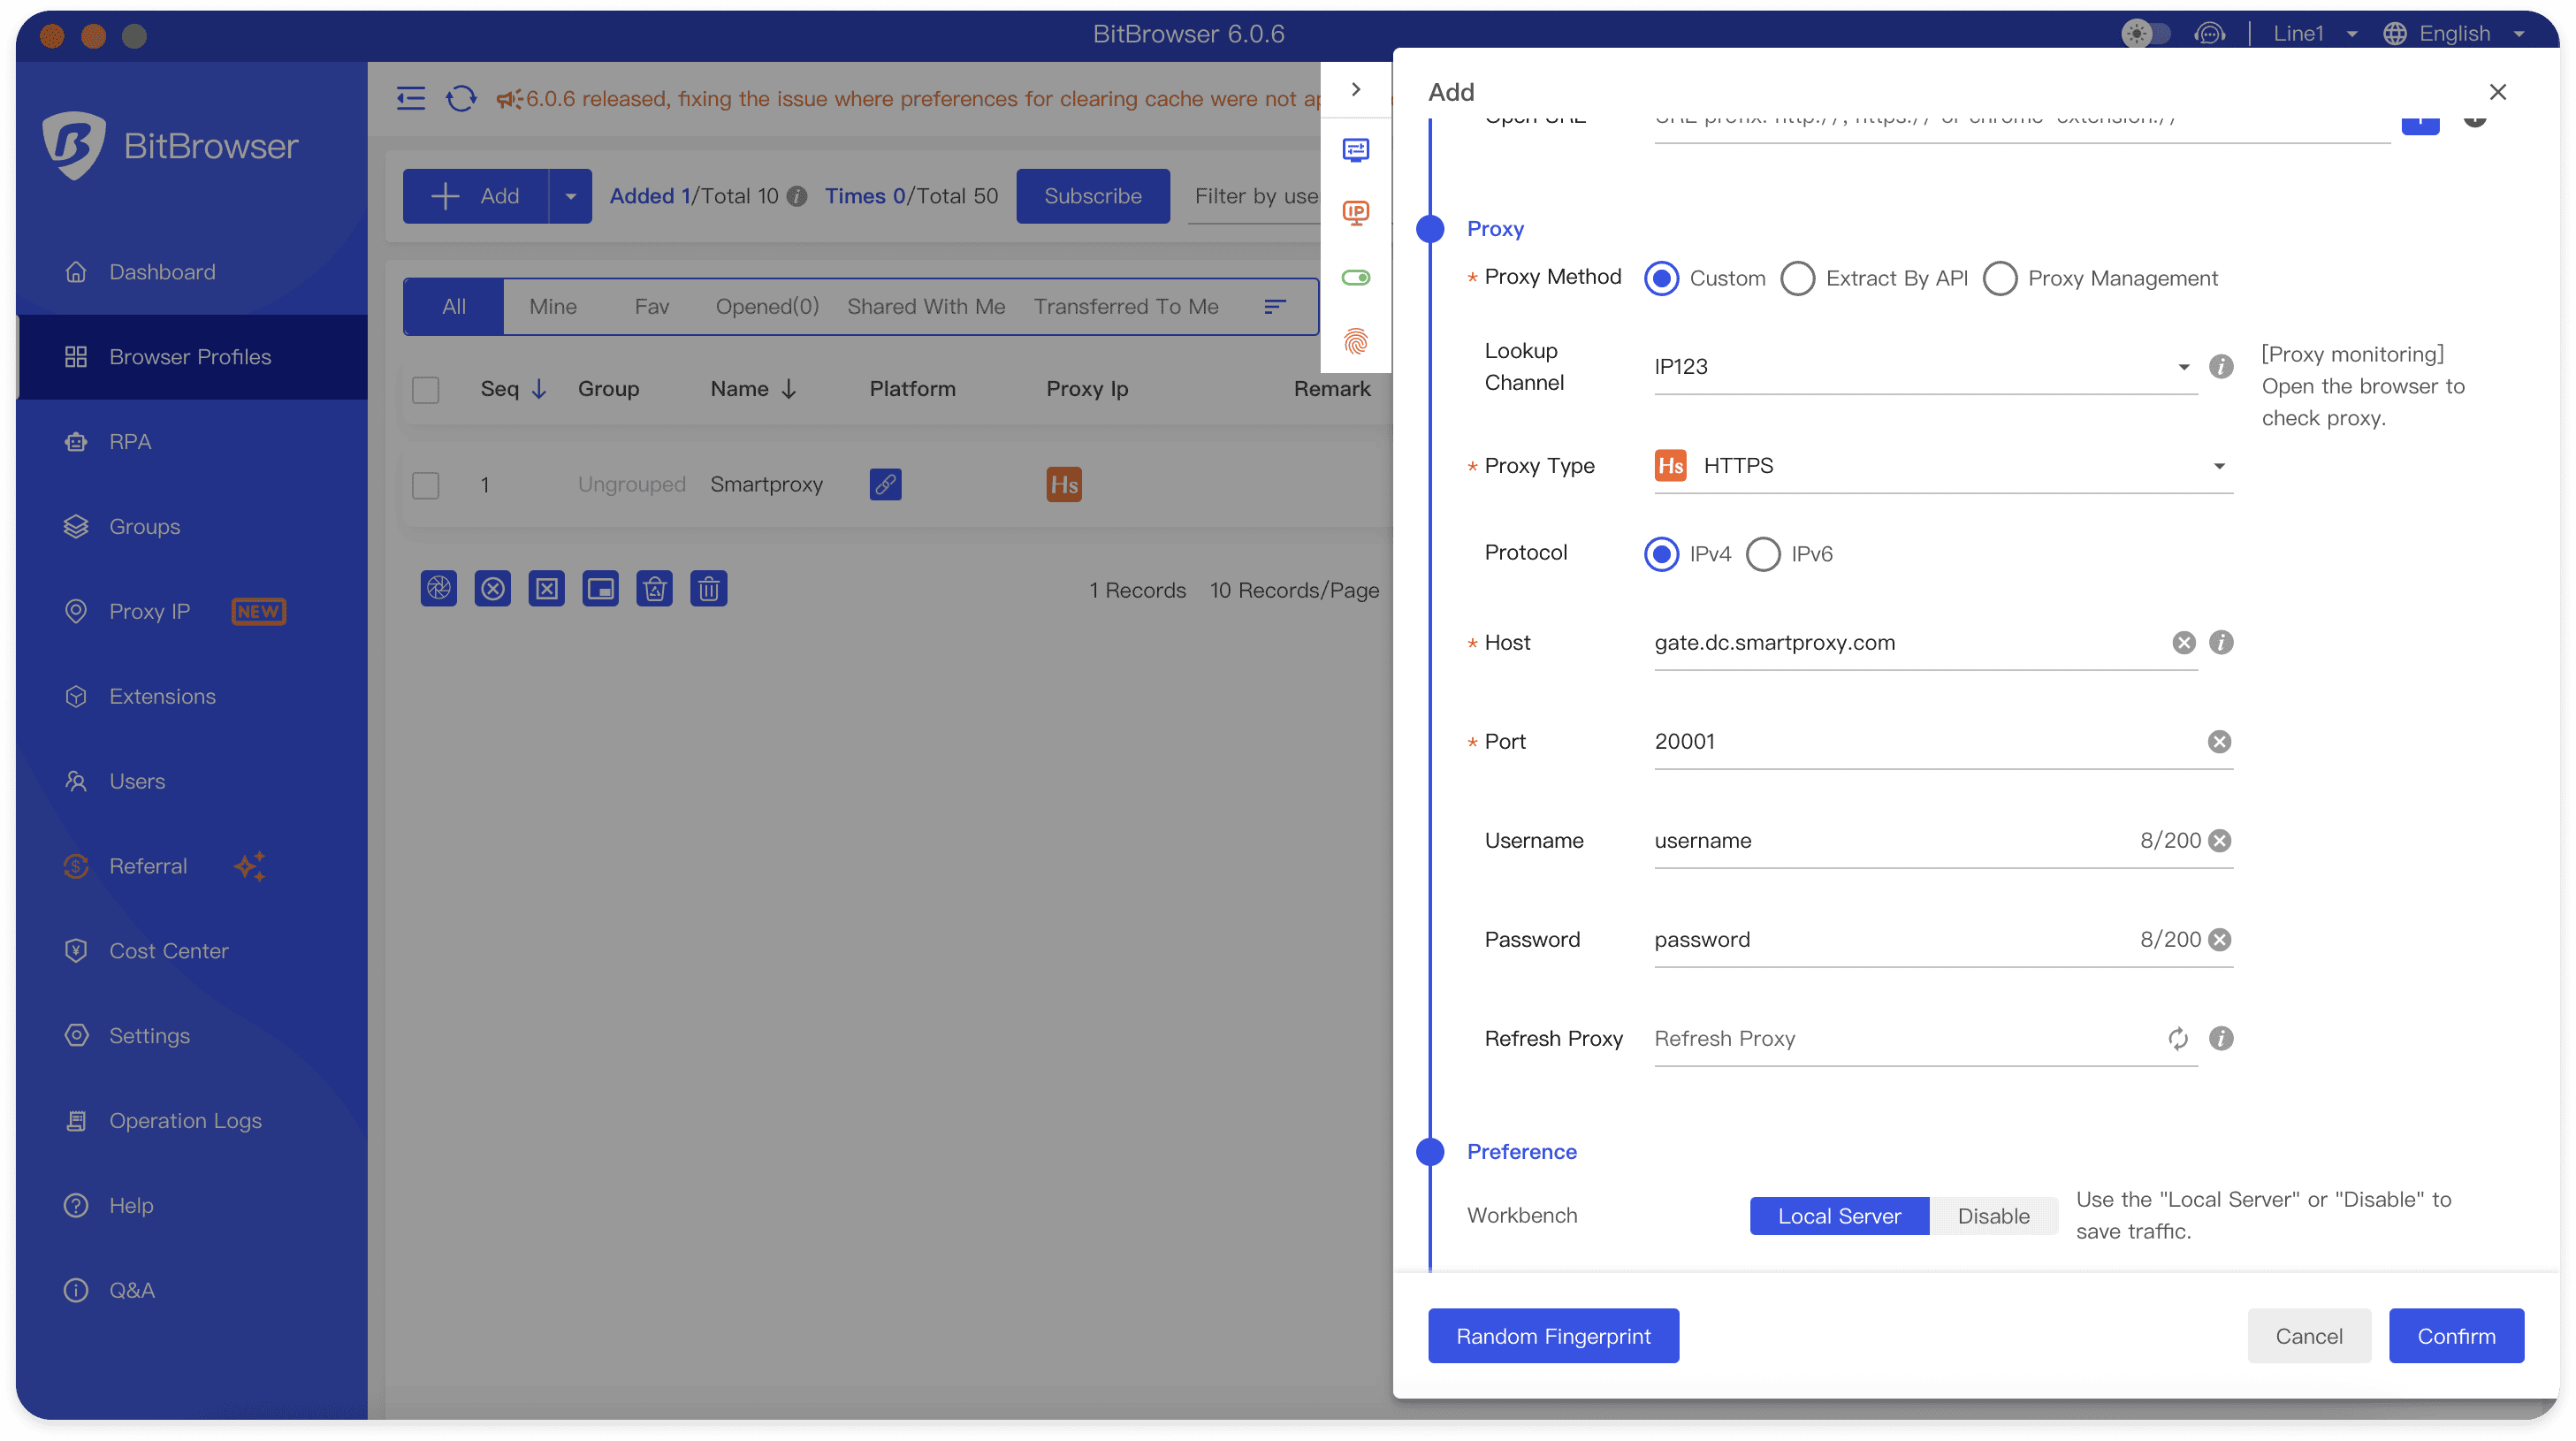
2. Enter your Smartproxy Username and Password.
3. In addition to proxy settings, you can personalize various preferences and fingerprint options for a specific browser profile. After doing so, click Confirm.
4. To ensure everything works as intended, click Open and launch the browser.
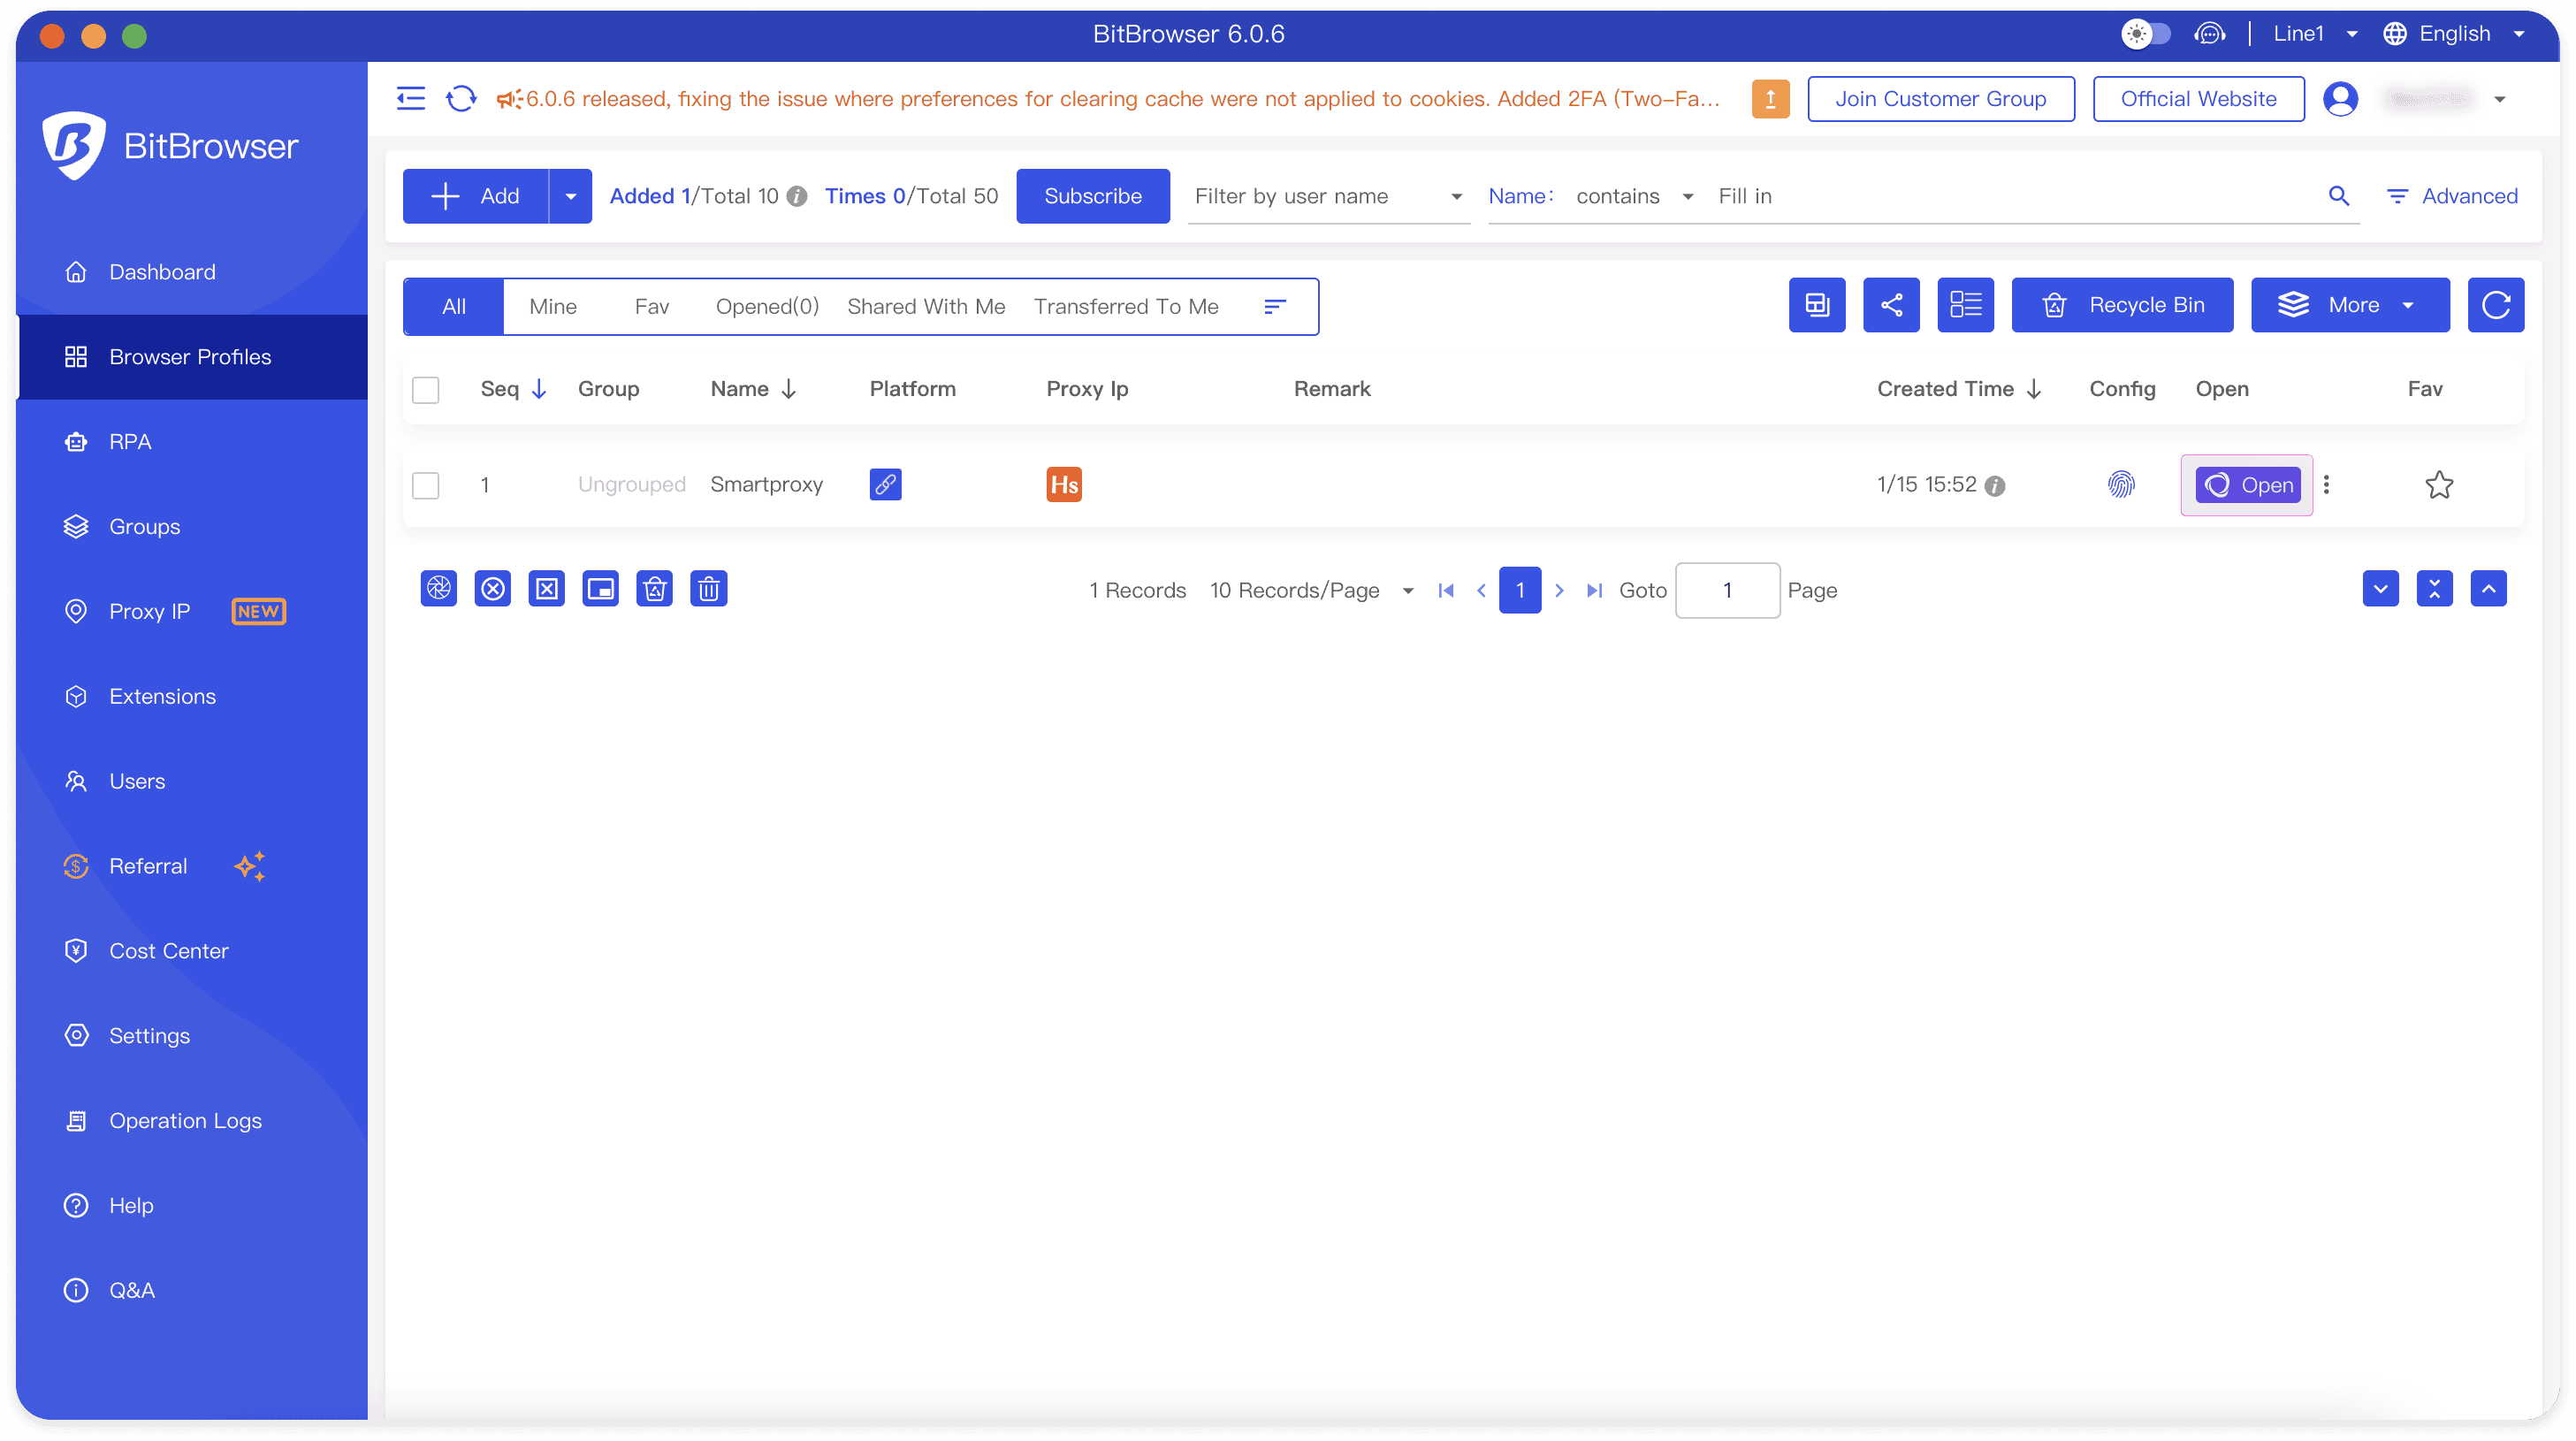
Tadaaam! You’ve successfully integrated Smartproxy proxies into BitBrowser.
Fastest residential proxies
Pick a plan that suits you. Get ahead with unblockable and stable proxies.
8 GB
$5.5
$2.75/ GB
Total:$44$22 + VAT billed monthly
Use discount code - RESI50
25 GB
$5.2
$2.6/ GB
Total:$130$65 + VAT billed monthly
Use discount code - RESI50
50 GB
$4.9
$2.45/ GB
Total:$245$123 + VAT billed monthly
Use discount code - RESI50
100 GB
$4.5
$2.25/ GB
Total:$450$225 + VAT billed monthly
Use discount code - RESI50
With each plan you access
55M+ ethically-sourced IPs
HTTPS & SOCKS5 support
<0.5s average response time
99.68% success rate
Unlimited threads & concurrent sessions
Country, state, city ASN & ZIP code targeting
Rotating and sticky sessions
#1 IP quality in the market
Free 24/7 tech support
SSL Secure Payment
Your information is protected by 256-bit SSL
Google Pay and Apple Pay are only available with Smart Wallet*
What people are saying about us
We're thrilled to have the support of our 50K+ clients and the industry's best

Best online Customer support I've gotten
Customer Support is amazing, agent walked me through an issue I've been dealing since...
Featured in:
Frequently asked questions
What is BitBrowser?
BitBrowser is a internet anti-detect browser that allows you to open multiple browser instance windows and manage multiple accounts simultaneously.
What is BitBrowser used for?
BitBrowser can be used when automating use cases like multi-accounting, ad verification, web crawling, and more.
How to install BitBrowser?
Visit the official BitBrowser’s website, click Download on the navigation bar, choose your operating system, and run the setup. Then, follow the instructions to install, open the app, create an account, and log in.
Be aware that any tools mentioned in this article belong to a third party, not Smartproxy. Therefore, Smartproxy will not be responsible for any of the services offered by the third-party. Make sure to thoroughly review the third-party’s policies and practices, or do your due diligence, before using or accessing any of their services.


