How to Configure Proxy Server Settings on iPhone and iPad
Follow our instructions and easily set up proxy settings on your iOS device to ensure complete online privacy.
14-day money-back option

What does configuring a proxy on an iPhone or iPad mean?
Setting up a proxy on your iPhone or iPad offers various advantages, from masking your IP address to altering your online location and unlocking content that’s otherwise restricted. It can boost your security by blocking direct access to your device from malicious sites.
Keep in mind that iPhones and iPads don’t support proxy connections over mobile data, so you’ll need to be connected to a Wi-Fi network to set up and use a proxy. Additionally, iPhones and iPads are designed to work with HTTP proxies, while using SOCKS5 proxies isn’t available. The following proxy setup will apply only to your device’s browser, not to any other apps.
How to use a proxy on an iPhone or iPad?
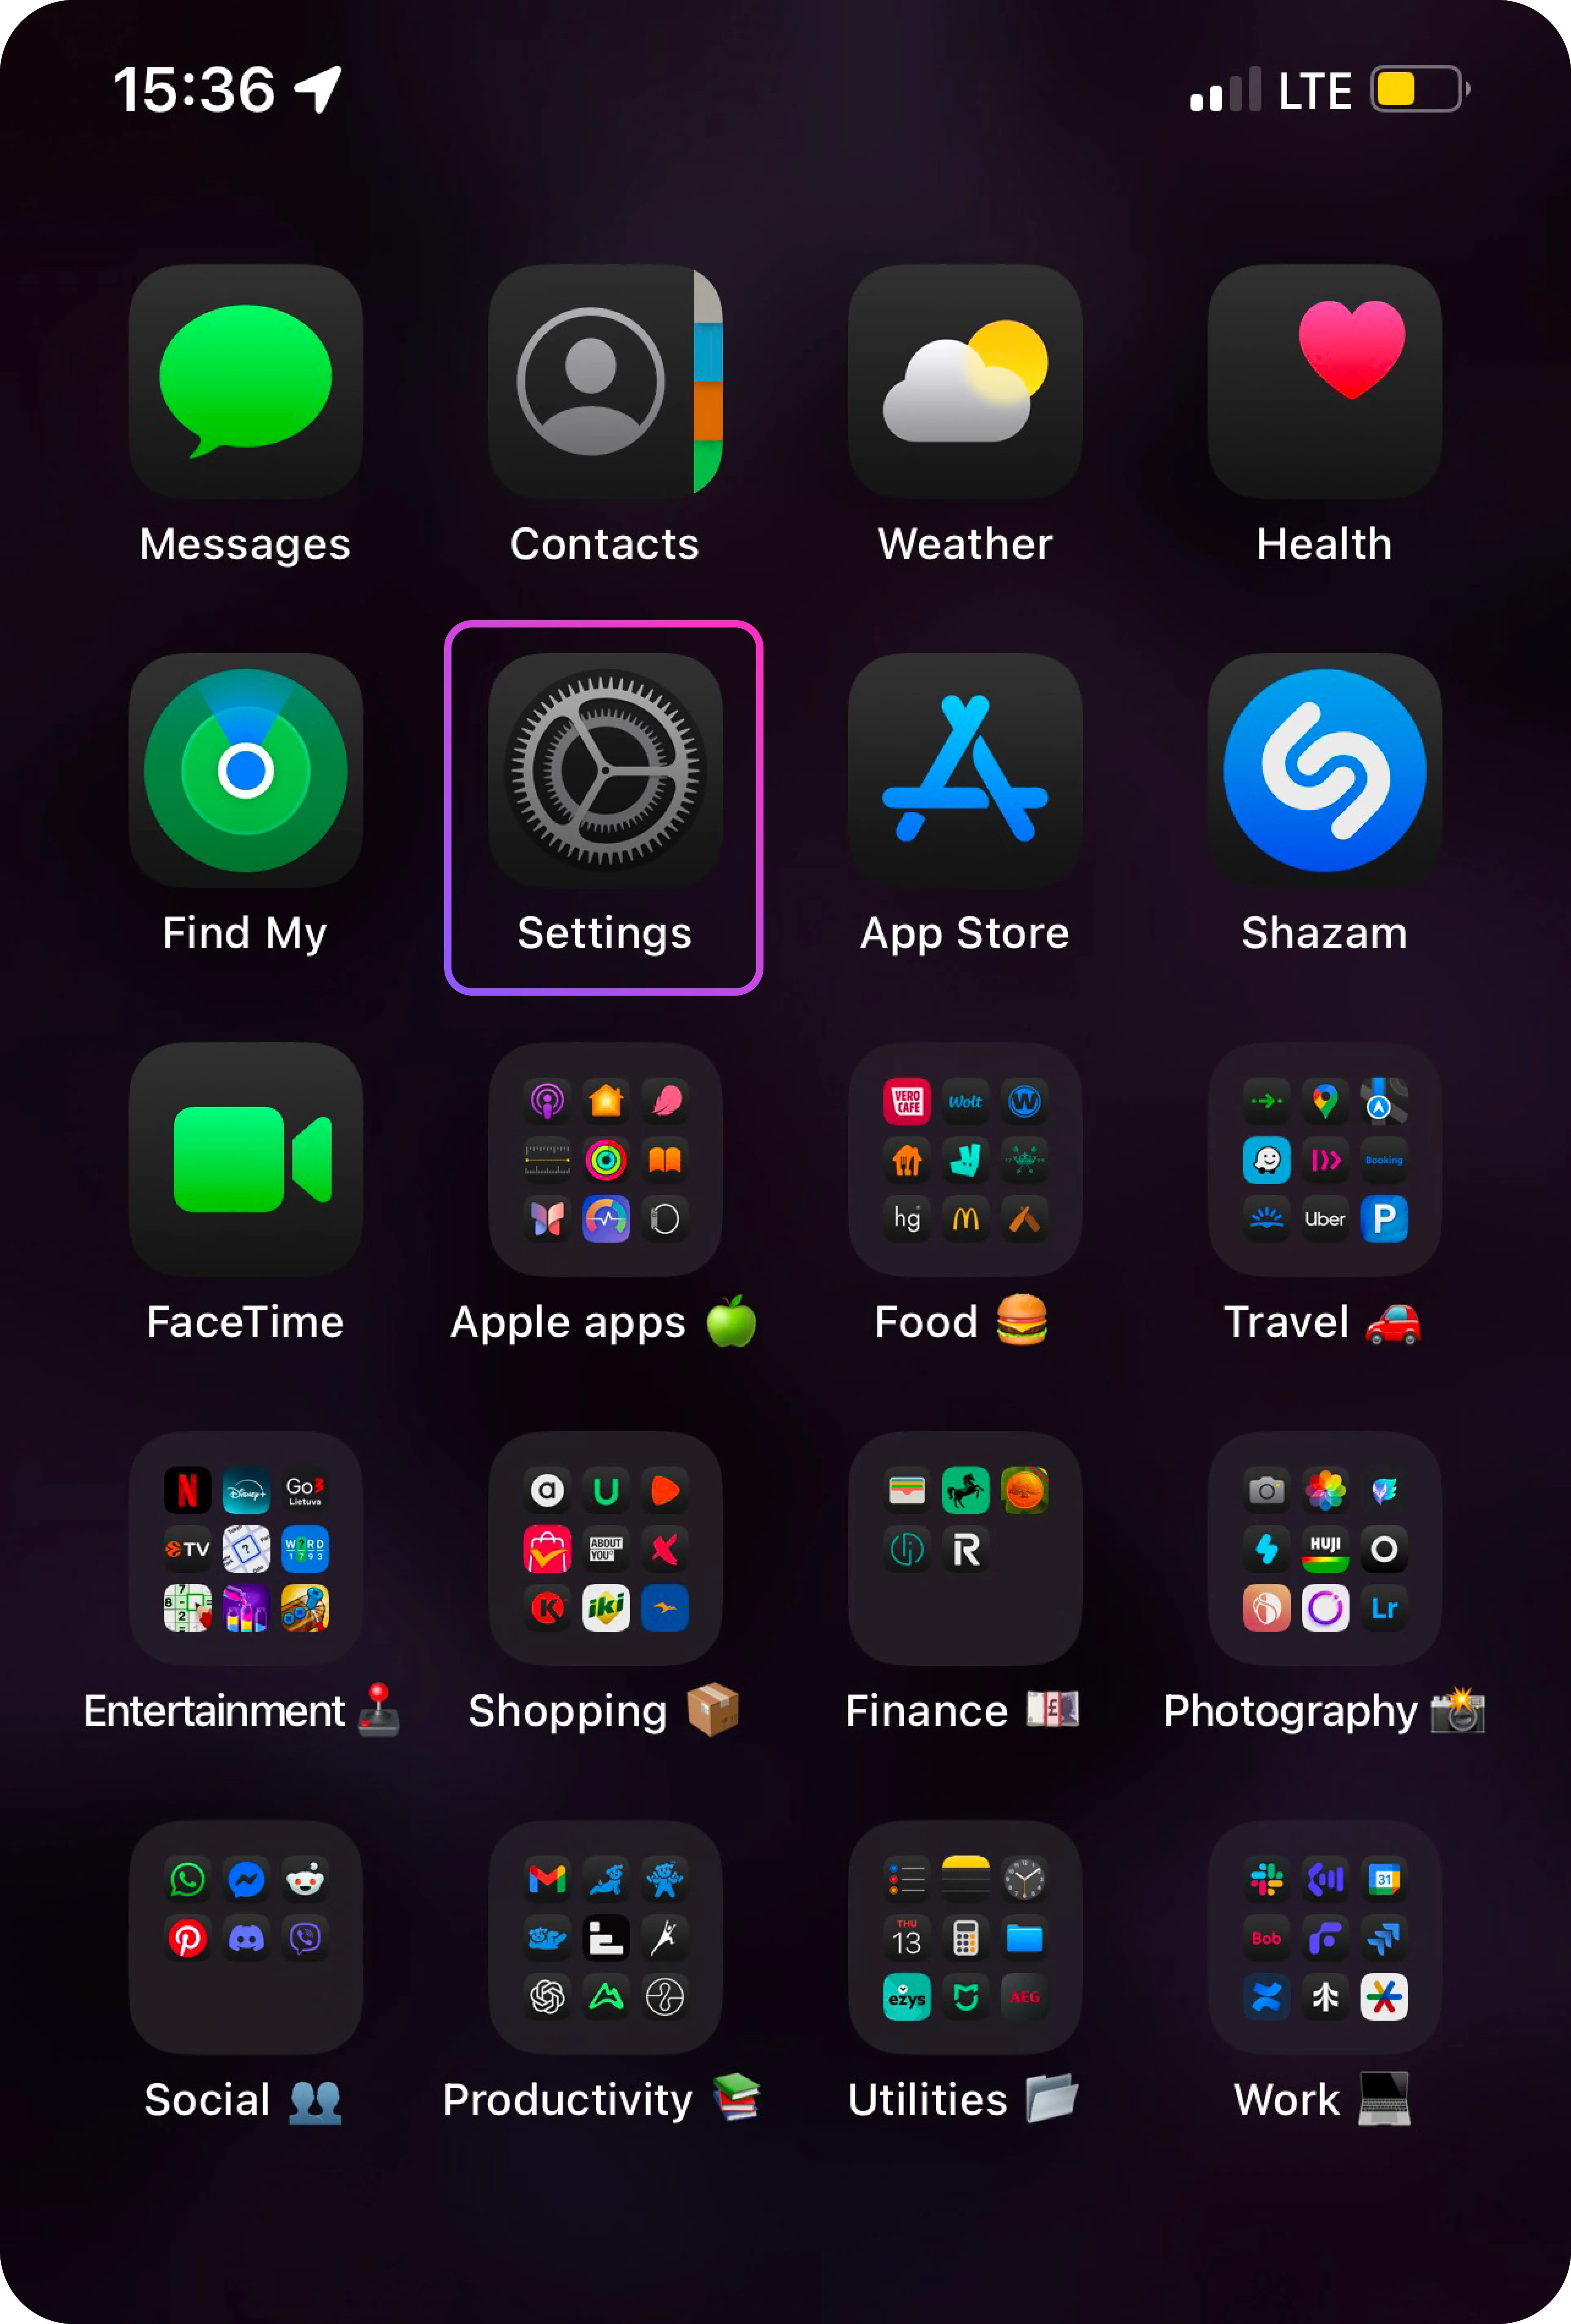
- Open your iPhone settings.
- Select Wi-Fi.
- Tap the info icon on the right side of the network you are connected to.
- Scroll down to the HTTP PROXY section and choose Configure Proxy.
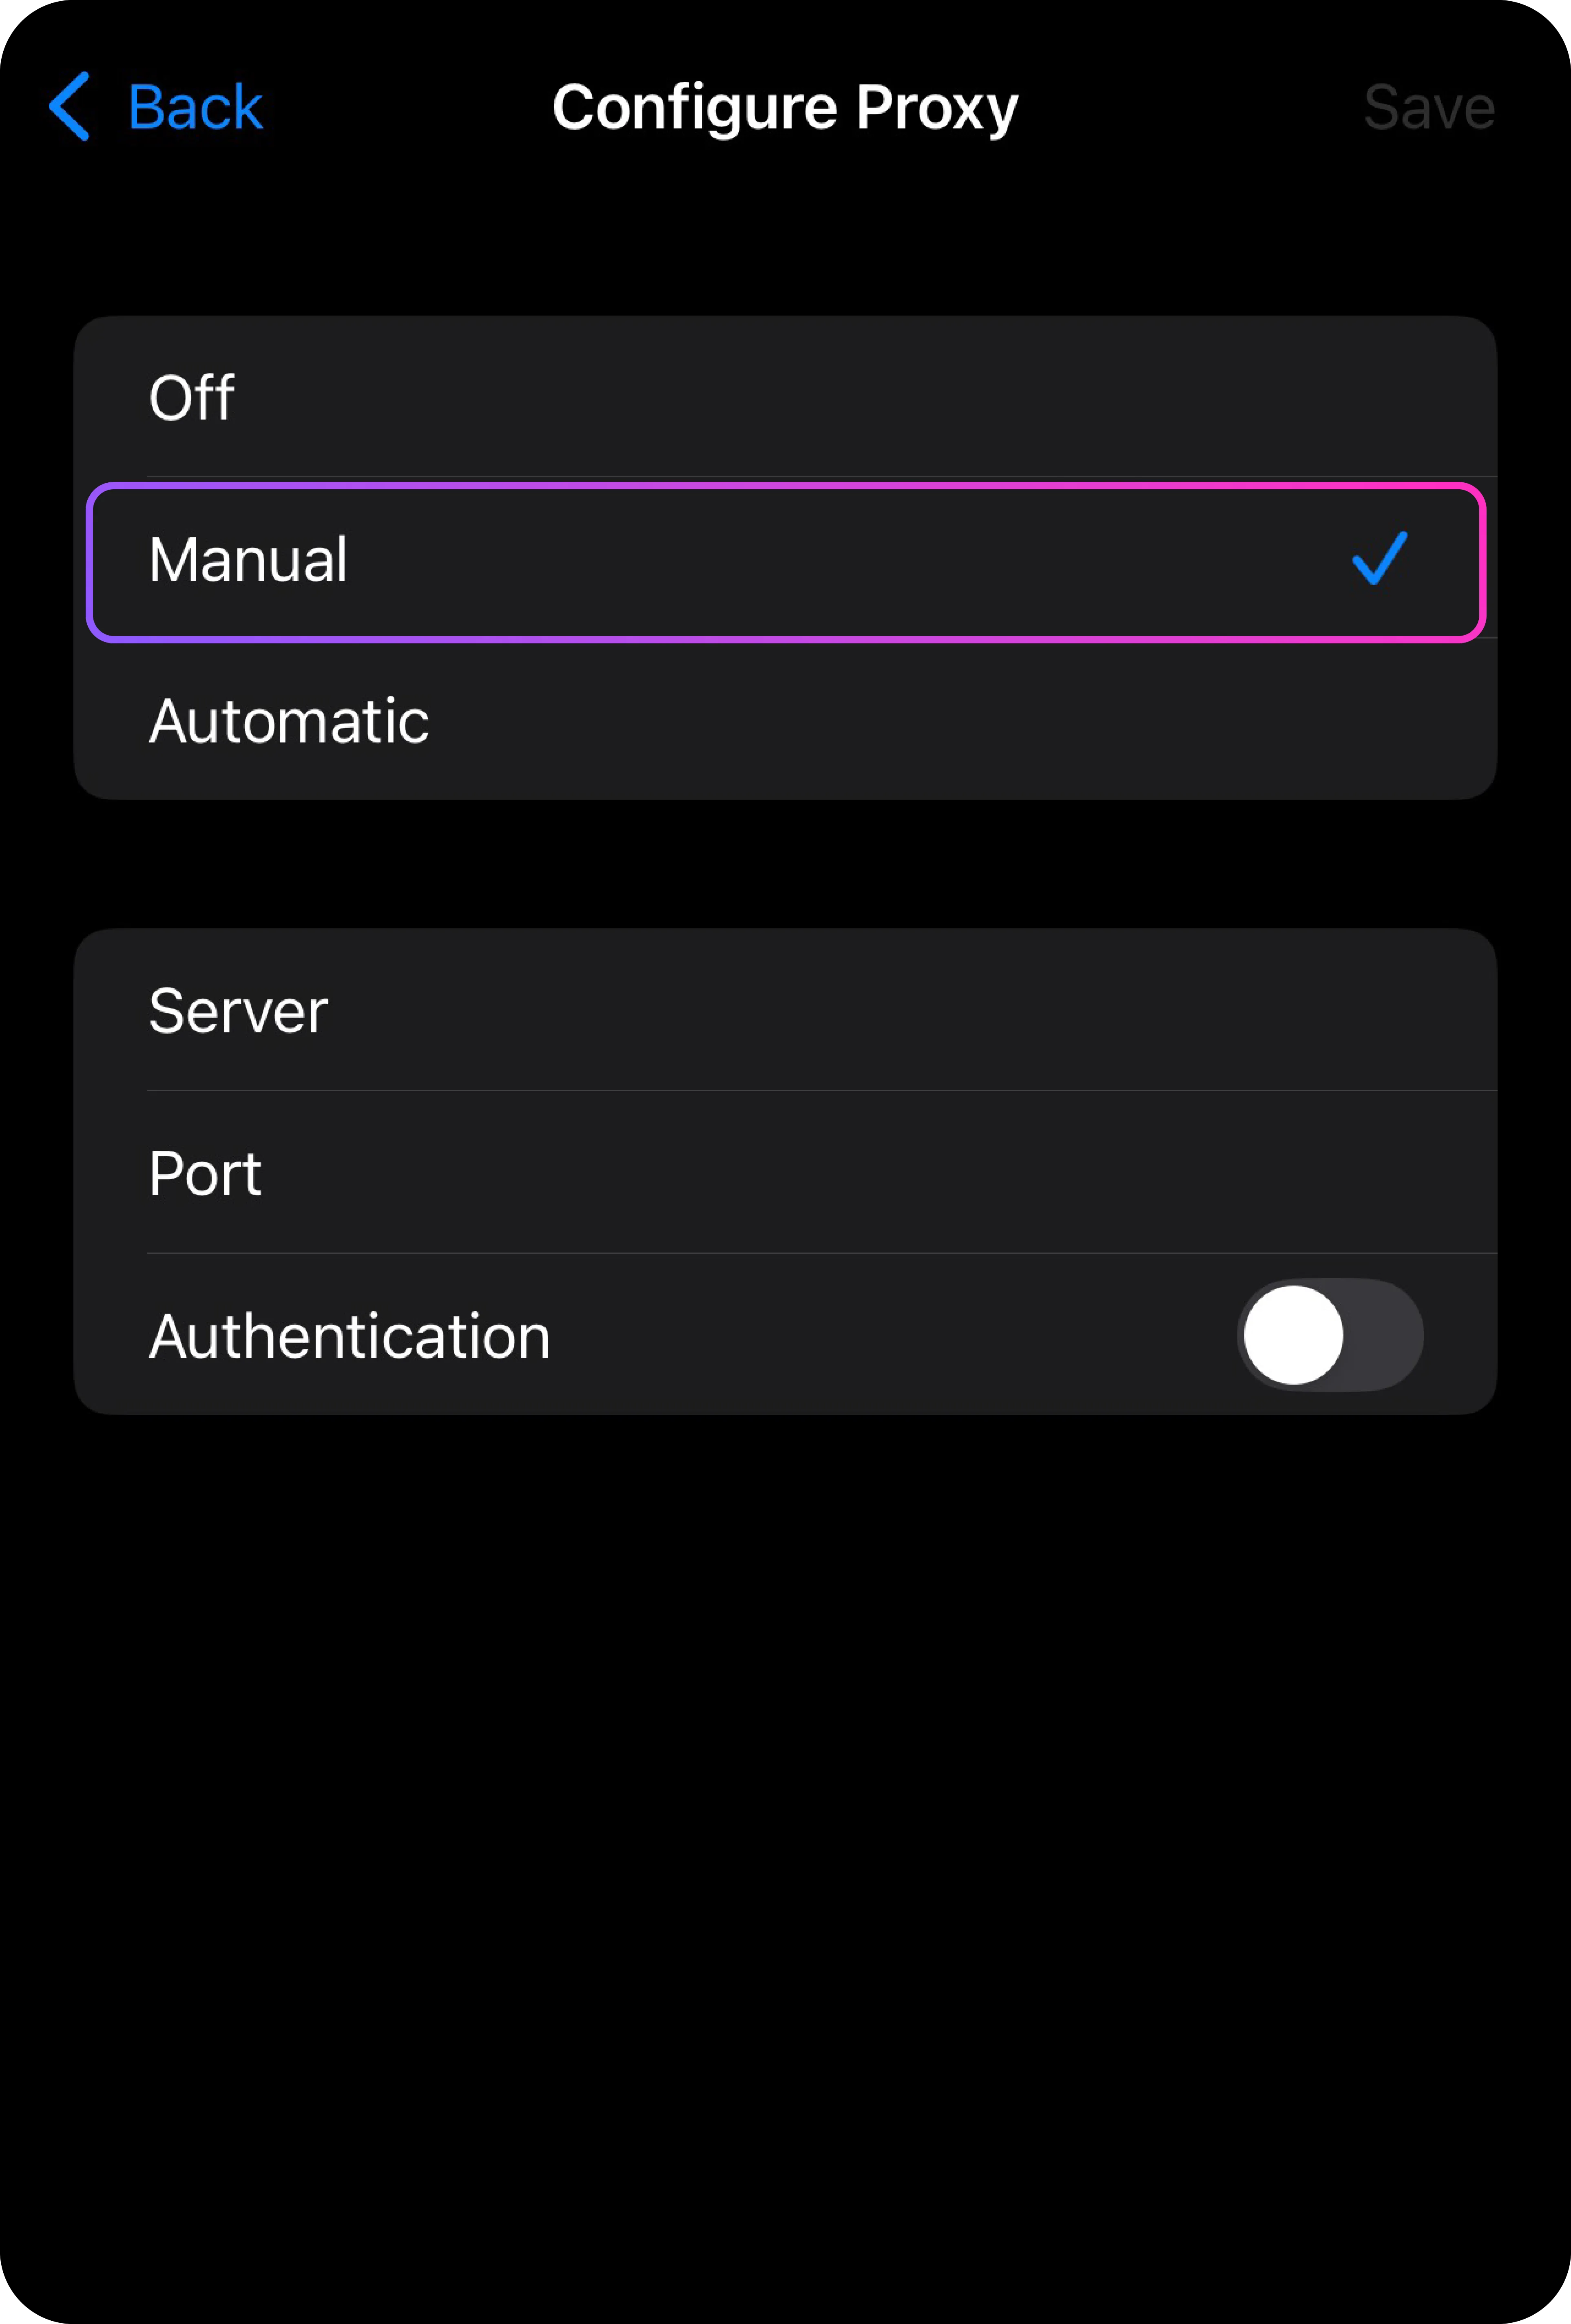
- Tap on Manual configuration.
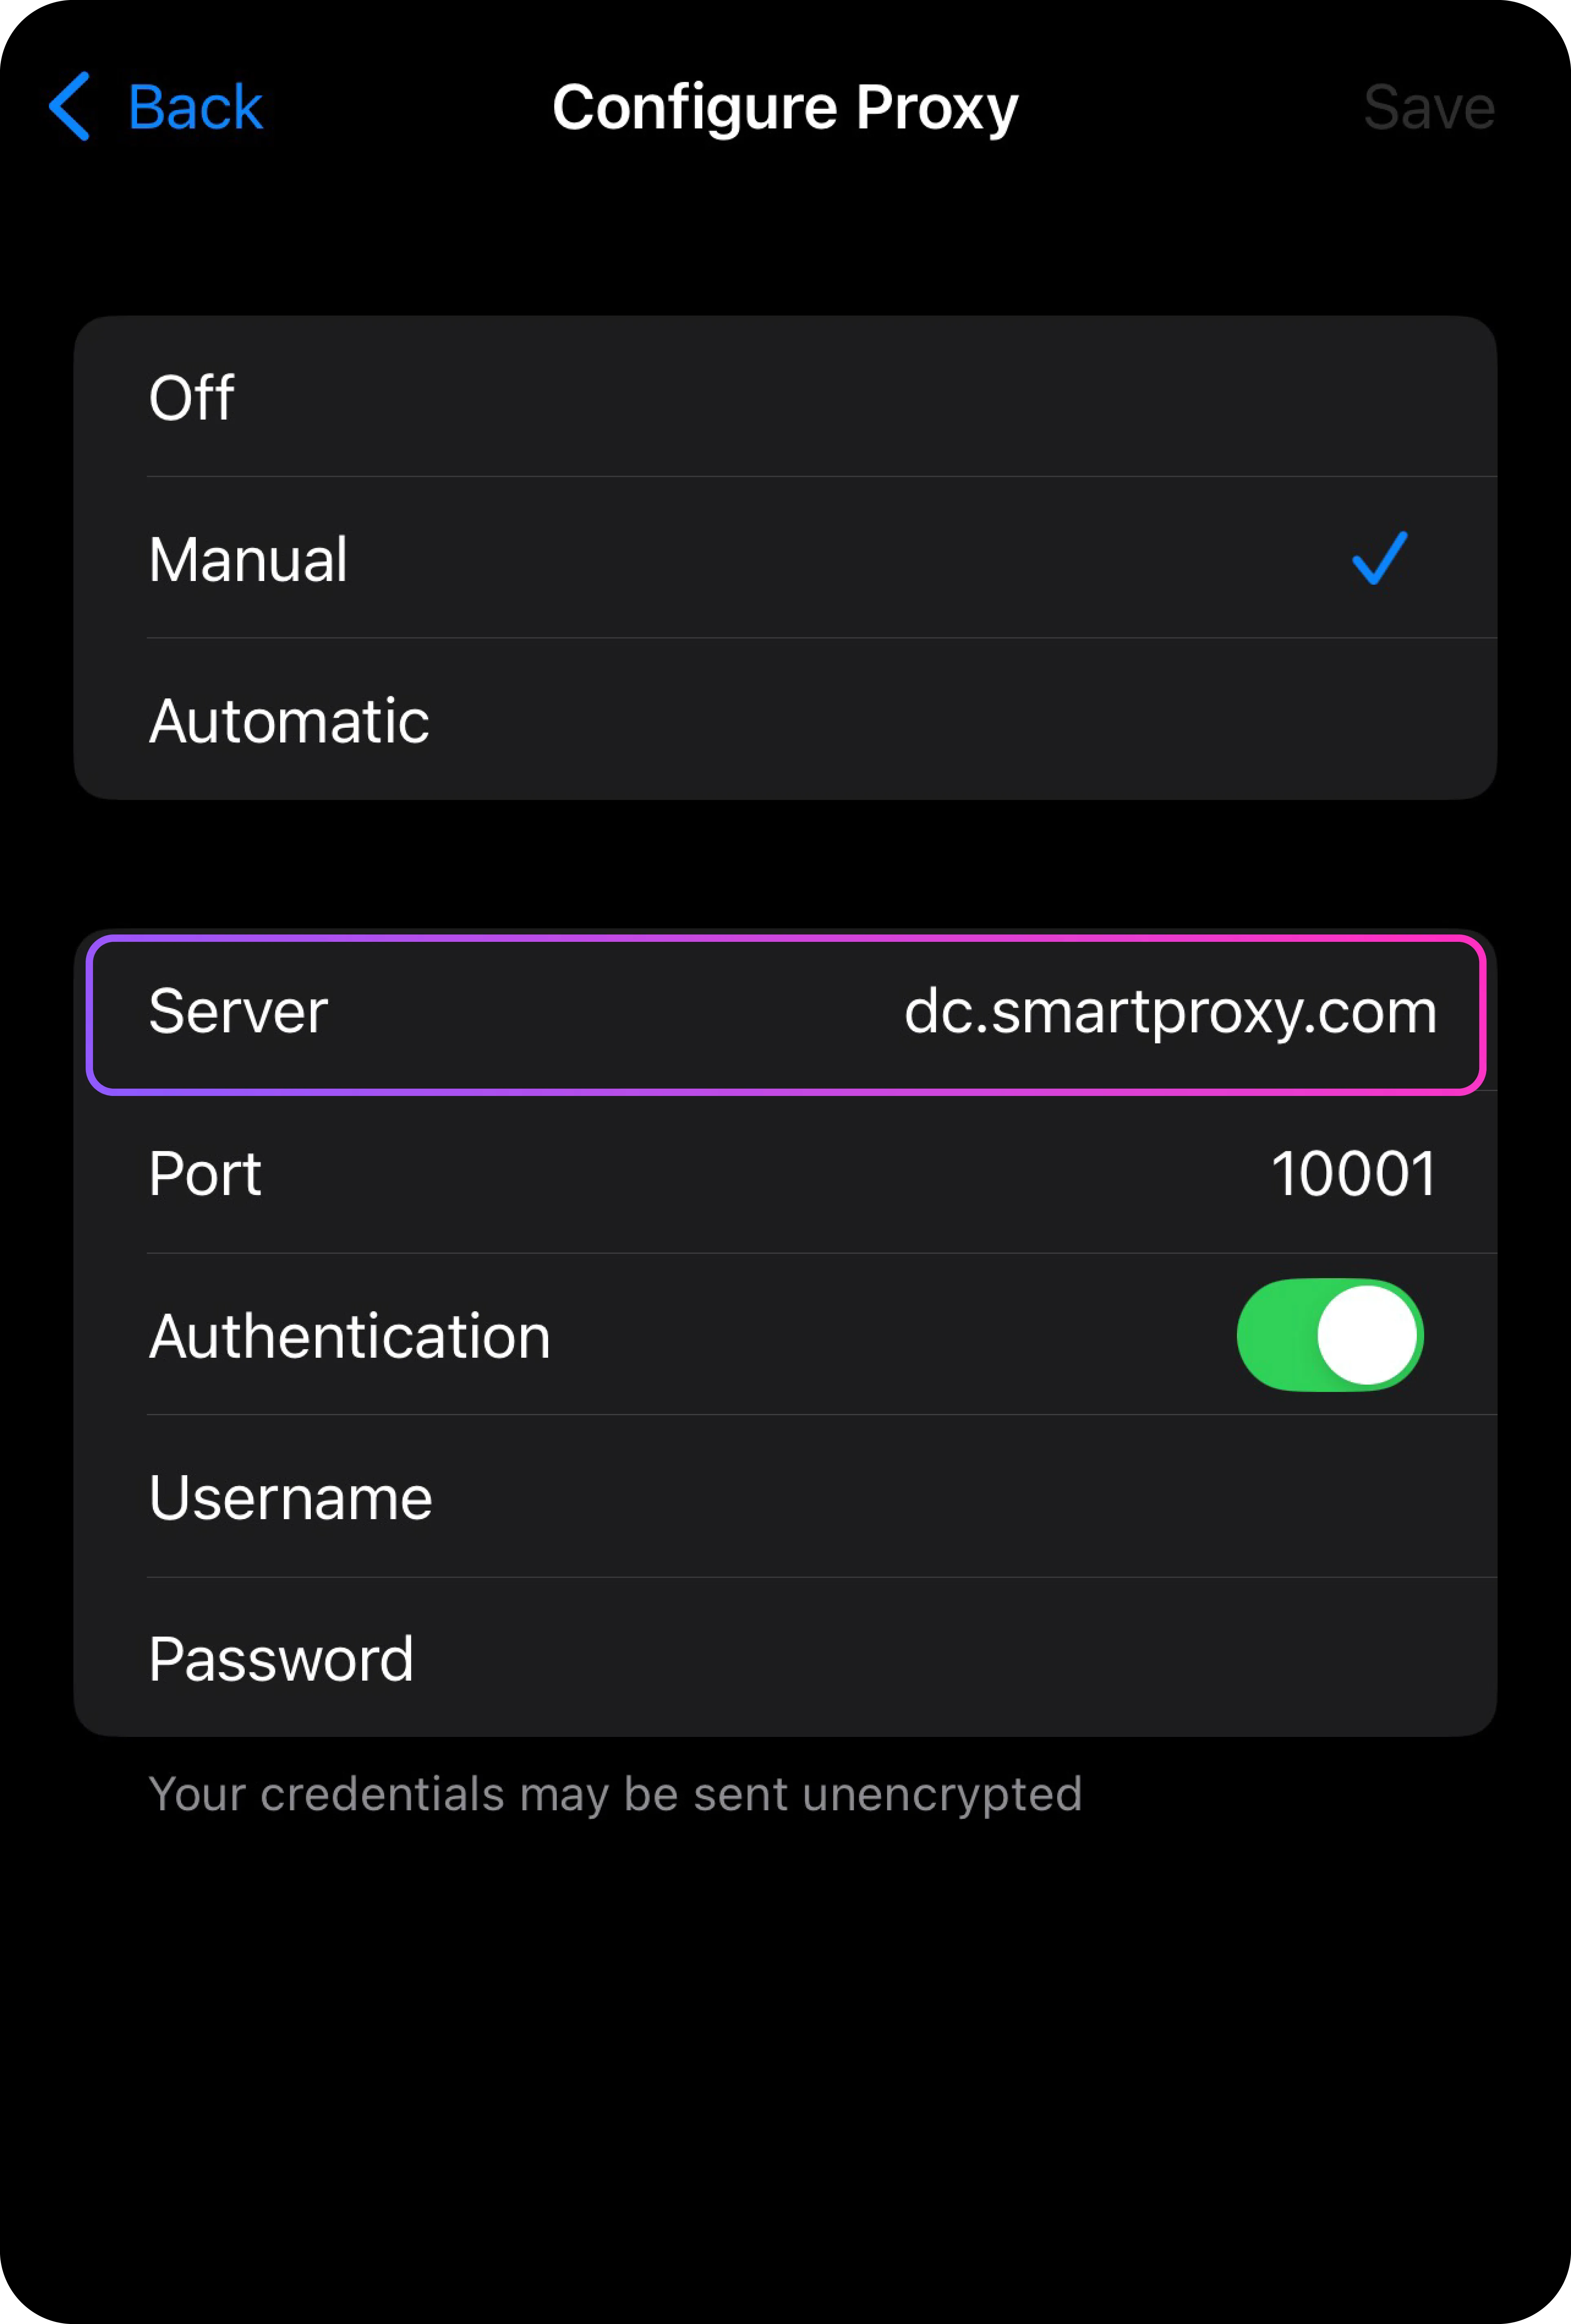
- Provide your proxy details – server and port.
- Check if your HTTP proxy works here.
Note: You can also automatically configure your iPhone proxy. Choose the Automatic configuration option – you'll see a field to enter the web address (URL) of the proxy auto-config script. Type in the address and hit Save. Your device will then use the script to activate the proxy server.

Go incognito and avoid IP blocks with premium iOS proxies!
Setting up a residential proxy on iPhone and iPad
In case you've chosen Decodo as your residential proxy service provider, follow this example to edit your proxy details.
Example: Server – us.decodo.com, port – 10101. This will let you connect through our US proxy servers. You can also try gate.decodo.com with the 7000 port to reach the whole 55+ IP pool.
Turn on authentication if your network IP isn't whitelisted in the dashboard, and add your username and password.
Setting up a datacenter proxy on iPhone and iPad
If you're using a datacenter proxy server, try the all.dc.decodo.com endpoint to reach a massive list of 100K datacenter IPs. Need a US proxy server address? Then gate.dc.decodo.com endpoint should be your choice. Besides, the authentication is a breeze – just turn it on, enter your username and password, and you're good to go!
Using private proxy servers? No problem –the steps remain the same. And for the dedicated datacenter proxy server and its port, find them on our dashboard on the left menu (Dedicated Datacenter > Proxy setup). Note that this setup works only for HTTP(S) proxies.
How to turn off a proxy server on iPhone and iPad
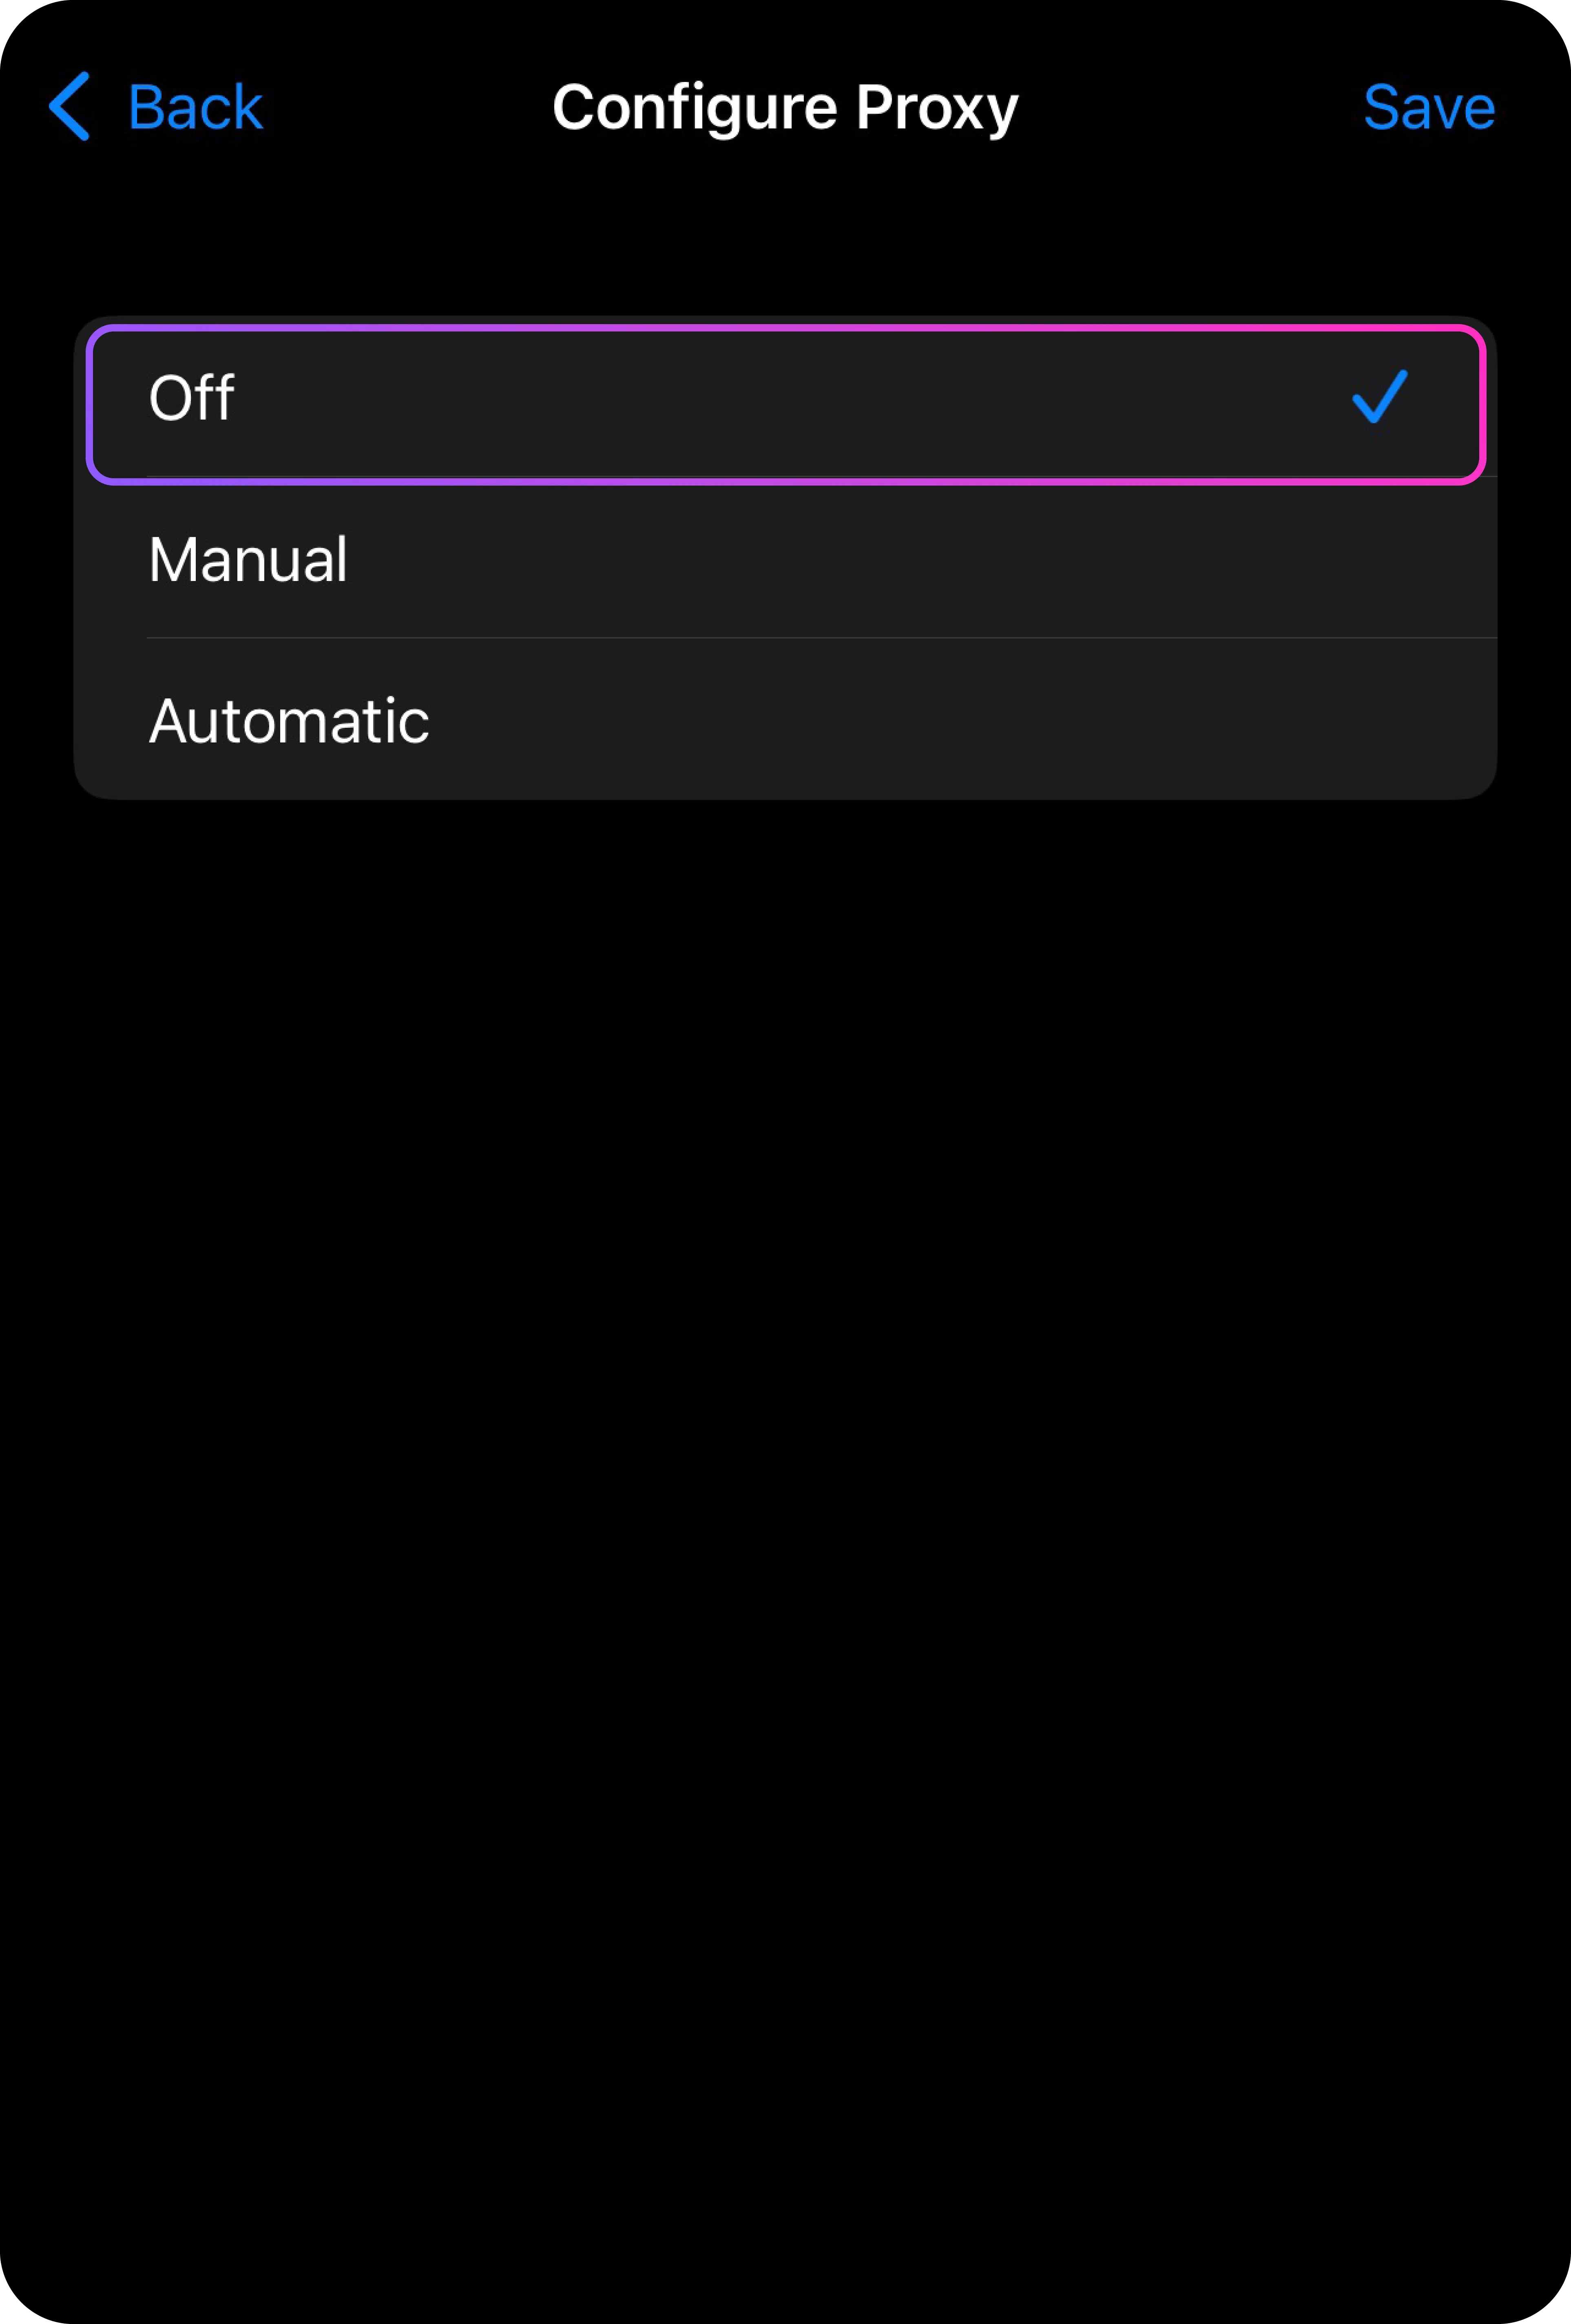
Let’s now learn how to disable proxy on iPhone or iPad. If you’re done with proxying and want to stop using a proxy server, go to your iPhone or iPad proxy settings by navigating to Settings > Wi-Fi > your current network > Configure Proxy and tap Off.
What is HTTP PROXY on iPhone and iPad?
HTTP PROXY on an iPhone or iPad is a configuration option within the device’s Wi-Fi settings that allows you to route your internet traffic through a proxy server. An HTTP proxy can filter and control internet traffic, helping to block suspicious activities and enforce security policies. It can inspect files and data before they reach a device, and prevent users from uploading unauthorized or potentially harmful files to a web server. For example, if a user tries to upload a file that the proxy deems unsafe or not allowed, the proxy can block that action.
Why Decodo is the best value proxy provider

Unlimited connections and threads
Want to go all-in with countless threads and connections at once? Go on, we won't limit your bandwidth.

City-level targeting
Use Decodo IPs from as many countries or cities as you like. Change locations as often as needed.

24/7 customer support
Experienced 24/7 online technical support via LiveChat. Some say our proxy gurus solve problems in seconds! See it yourself.

14-day money-back
Enjoy maximum performance without any pressure. Buy our proxies and take up to 14 days to decide. If you're not impressed, we'll refund you (terms apply).
Frequently asked questions
How to find your proxy server address on iPhone?
To check the IP address of the proxy server you're using, simply visit a website designed to display this information, such as https://ip.decodo.com/.
How to change your IP address on iPhone?
To change your IP address on an iPhone, you can do so by disconnecting and reconnecting to your Wi-Fi network. Go to the Settings app, select Wi-Fi, and tap on your connected network. Then, choose Forget This Network and reconnect by entering the password. Alternatively, you can turn Airplane Mode on and off or use a virtual private network (VPN) app to mask your IP address. For enhanced security, you can mask your connection with residential proxies.
How to turn off proxy on iPhone?
To turn off a proxy on an iPhone, go to the Settings app and select Wi-Fi. Tap on the connected Wi-Fi network, and in the next screen, set the HTTP Proxy option to Off. This will disable the proxy settings for the selected network.
Where are the Network settings on iPhone?
To access Network settings on an iPhone, open the Settings app and scroll down to find the Wi-Fi or Cellular option depending on the network you want to configure. For Wi-Fi settings, tap on the Wi-Fi option, and you'll see a list of available networks. Tap the network you’re connected to, and you can adjust various settings, including the network's IP address configuration. If you're looking for Cellular settings, simply select Cellular in the main Settings menu to manage your cellular data and related configurations.
What is an iPhone proxy server?
A proxy server is like a middleman between your iOS device and the internet. It lets you bypass pesky location blocks, hide your IP address, and strengthen your online security. And if you ever wondered if you can use a proxy server on your iPhone, then yes!
What is the best proxy server for iPhone?
Not all proxy services are equal. Don't settle for just any Joe Schmoe. Make sure you pick a reputable provider with a solid reputation for keeping your info safe and private. And no, you don't need extensive research for proxy servers – Proxyway has been doing it for you for years. Besides, they awarded Decodo the best value provider twice in a row!
Proxies for iPhone and iPad
Change your iPhone and iPad IP address with industry-leading residential proxies.
14-day money-back option